Model Registry
Overview
- Only Python models can be uploaded to the Model Registry.
- Workflow operators for sending models to the registry will be added in a future update.
- Respect file size limits (10 GB per project).
The Model Registry is the central place to store and manage machine learning models. It provides dedicated features for version tracking, labeling, and deployment management.
The entry point to the Model Registry is from the left menu, under Operations > Model Registry. When viewed from within a project, only the models specific to that project are displayed; otherwise, all the models you have access to are displayed.

Register a model
To register a model, click Create New within the Model Registry, and fill in the form field.
- Name - Give the model a name.
- Project - Select the project to which the model belongs.
- Type - Select the type of model, e.g., Classification, Regression, Clustering, ...
- Description - Describe the model.
- Labels - Assign a label to your model for improved searchability.
- Model Type - The list of Python models is identical to the list of supported models in Deploy a Python model. Note that some of the models have a directory structure, and it is important for your model to be consistent with this structure.
- Model File - Select your model. Note that you can upload a ZIP file containing the correct directory structure.
- Model Version Labels - Assign a version label to your model.
Finally, click Create, and your model will be uploaded to the Model Registry.
Manage Models
Once you have one or more models in the Model Registry, you can proceed to manage them, by clicking on the model name:
- Delete - Delete this model from the Model Registry.
- Edit - Change the Name, Type, Description, or Labels.
- Create Deployment - Create a deployment based on this model.
- Upload Model - If your model has been retrained, upload a new version of this model to the Model Registry.
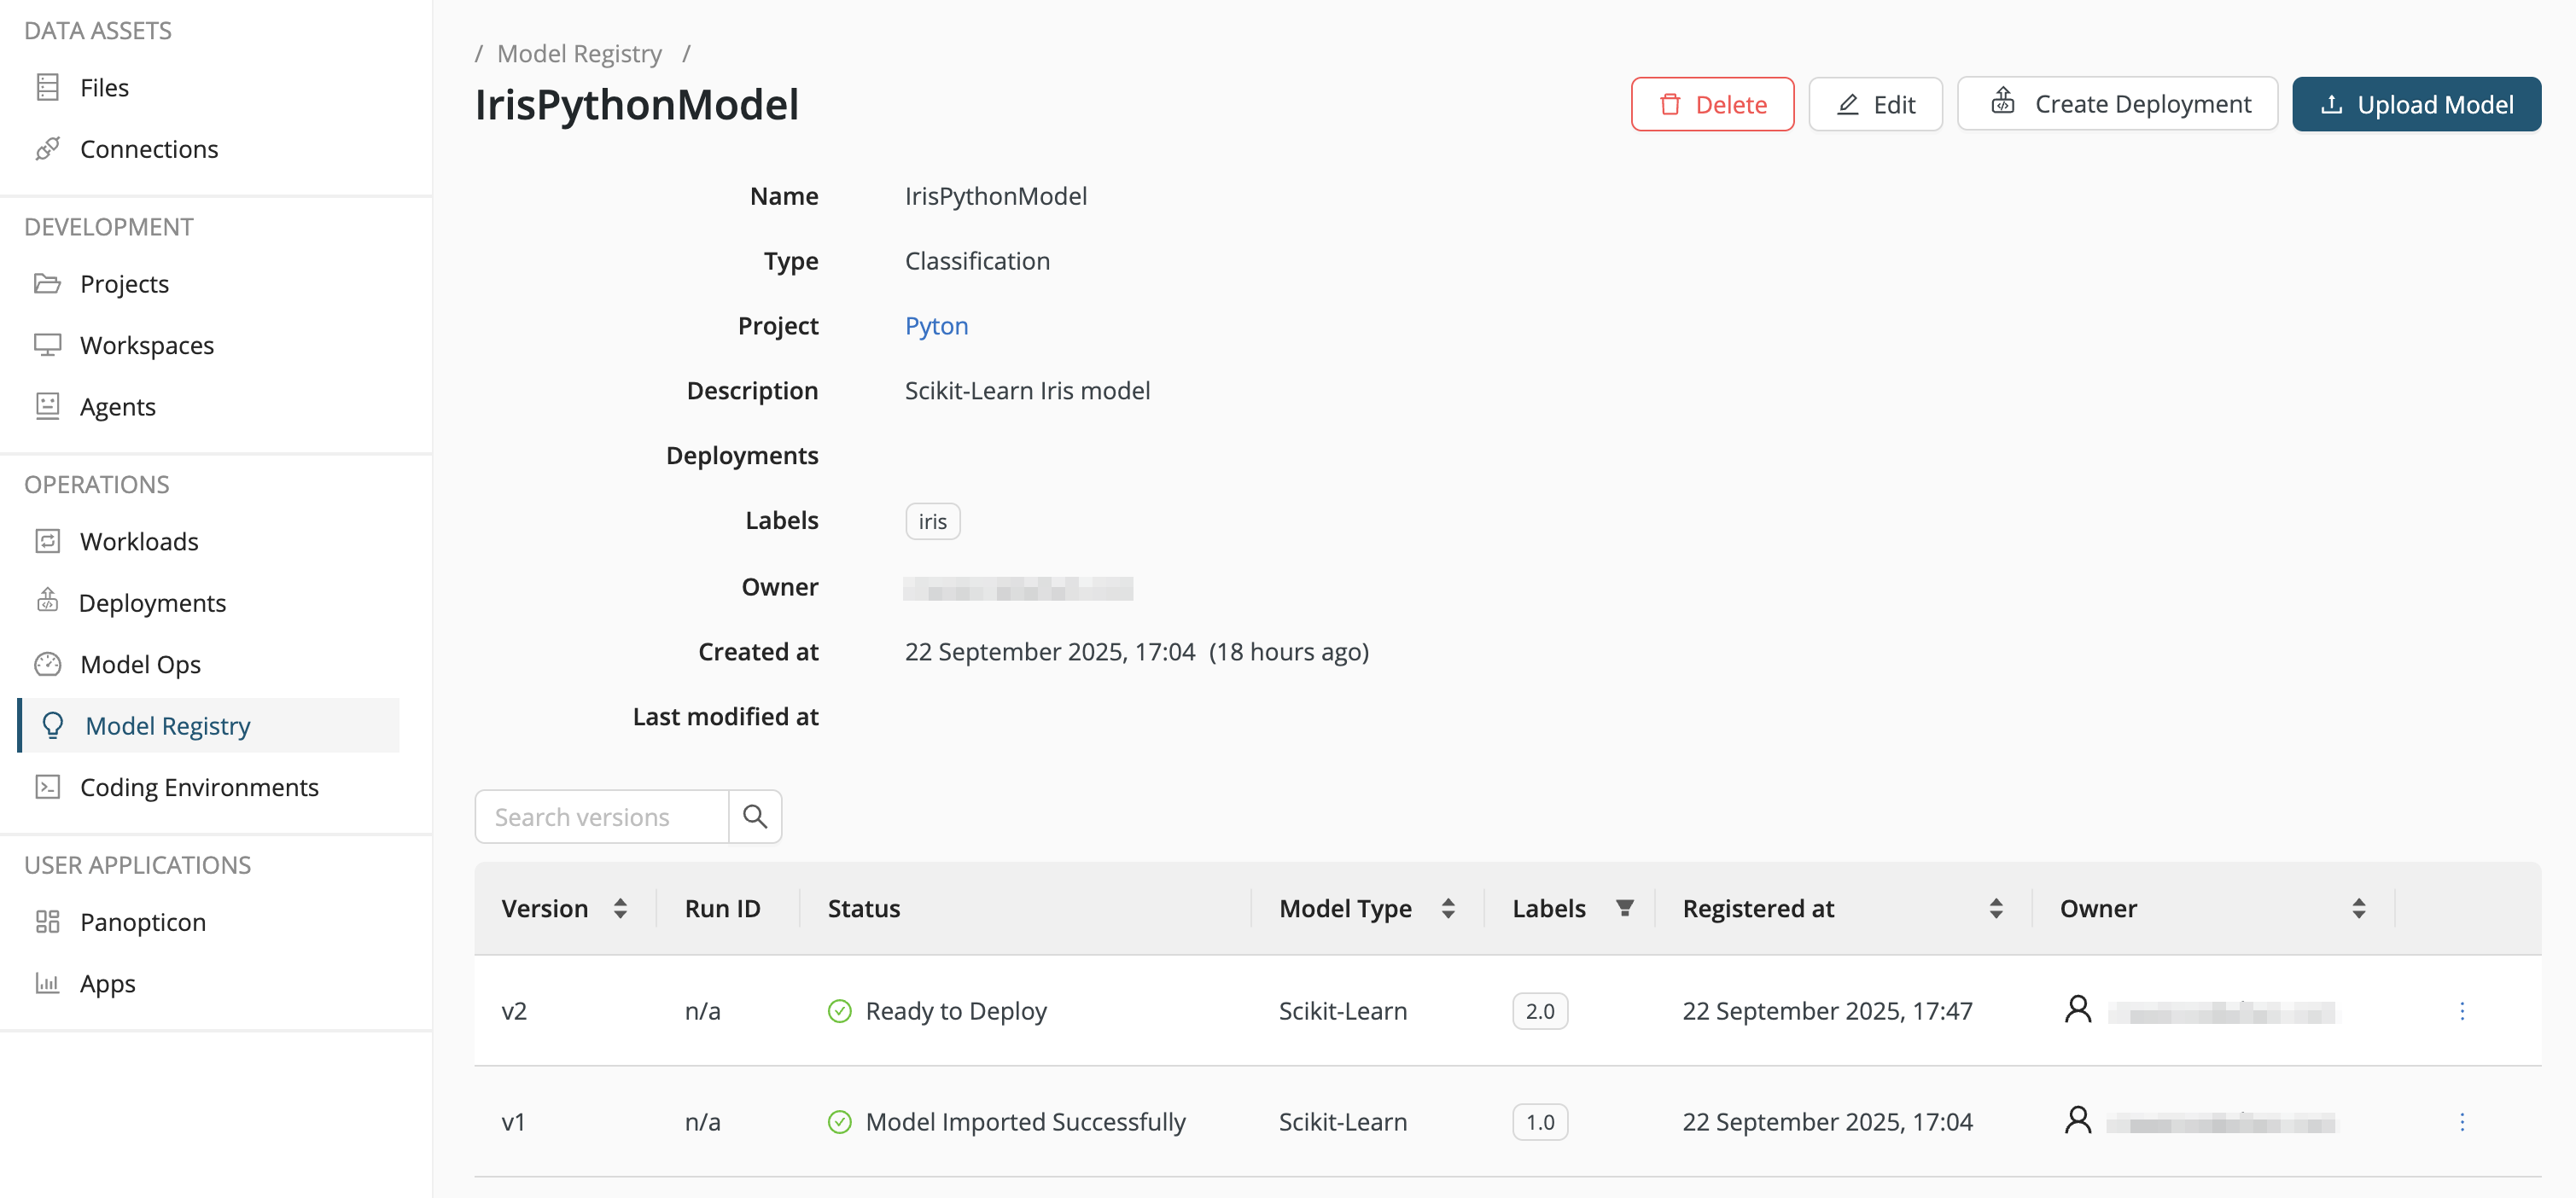
For each version of the model, the status may fall into one of these categories:
-
Files Uploaded – Initial upload
-
Model Imported Successfully – Model is ready for use.
-
Ready to Deploy – User marks the version as deployment-ready.
Note that for stricter deployment management, deployment readiness may require approval by a different user.
Deploy a model
Take the following steps:
-
Select a model version and from the right-side 3-dot menu, change the status to Ready to Deploy.
-
Click Create Deployment, and follow the steps outlined in Deploy a project corresponding to your deployment type. For example, in our example with a Python model, you would follow the instructions given in Create a Model API deployment.