Deploy a Python model
Deployment of a Python model follows a somewhat different scheme than the other deployment types.
For the other deployment types, the starting point is a workflow created in Workflow Studio; for Python, the starting point is a Python model. It does not matter how you obtain this model. You can do any of the following:
- create the model in a Web IDE,
- create the model in a notebook,
- create the model outside of Altair AI Cloud, or
- download a model created by someone else.
See below for the list of supported models.
The steps that follow can be summarized as follows:
- Get the Python model into the Content tab of your project, via a workspace.
- Create a Model API deployment.
- Use a REST API to generate predictions from the model.
It is possible to set GPU resources to support Model API. The available types and sizes depend on the cloud provider. Note that GPU usage can be set on the Resource Pool level, allowing projects to consume these or not.
Learn more about Resource Pools.
Model API
When you create a deployment based on a Python model, select Model API as your deployment type.
The Model API is a REST API, and except for the fact that it is aimed at Python models, it has essentially the same features as the REST API deployment type for workflows, namely:
-
Exactly one Python model can be served in each deployment, so if you need to deploy multiple Python models, you should create a Model API deployment for each one.
-
The Model API deployment has its own, unique address accessible on the public internet. This address is automatically generated when the deployment is created. This unique external address can be reused from other deployments which can be useful in certain scenarios. For more details, see external address management.
-
When creating (or editing) a deployment, its resource allocation constraints must be specified. The deployment will consist of a single container instance and will not be horizontally scaled. Resource allocation consists of the maximum number of virtual CPUs and maximum amount of memory (in GiB) the deployment is allowed to consume. Due to the always-on nature of the Model API deployment, it will continuously consume resources which count against your resource quota, until its termination.
Example: Iris
As an end-to-end example, we will create a simple model based on the well-known Iris data set, and then use that model to create a Model API deployment, finishing with a prediction.
It is assumed to start with that we have:
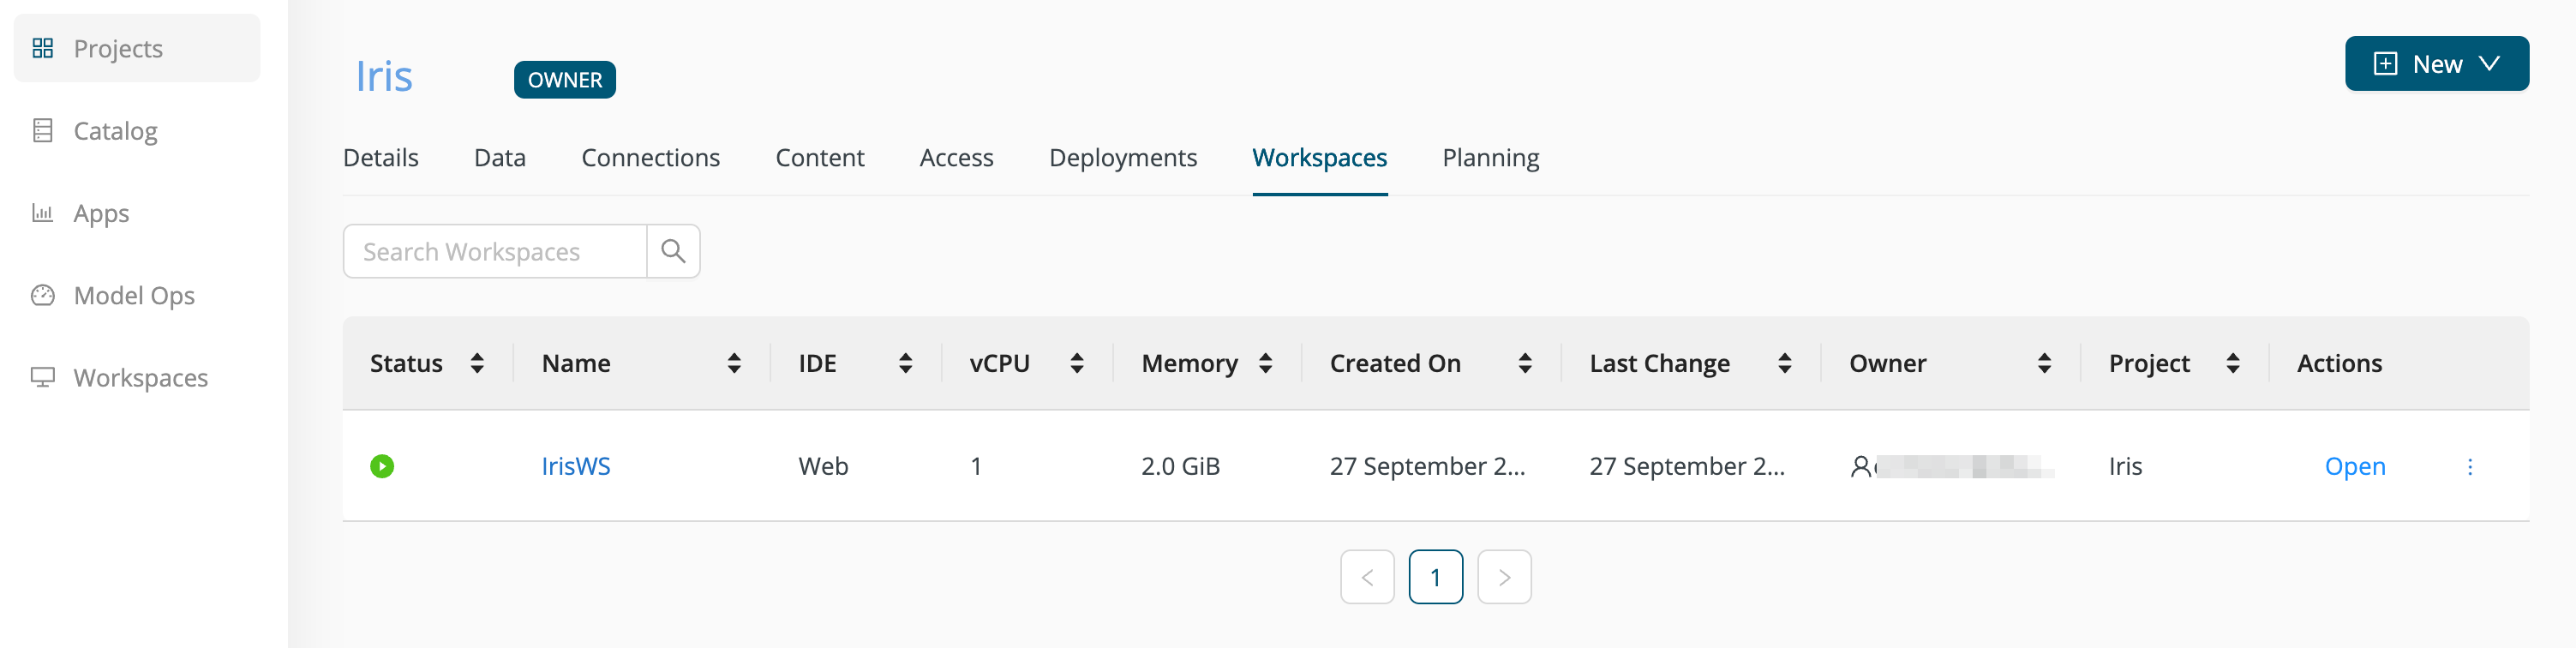
- Created a project named Iris, and
- Opened an Web IDE workspace within that project.
Create a Python model
On Altair AI Cloud, the default Python coding environment is called rm-base, and it includes the machine learning library scikit-learn.
We can use scikit-learn to build a simple model for predicting the type of Iris,
given its attributes:
| sepal length (cm) | sepal width (cm) | petal length (cm) | petal width (cm) | type |
|---|---|---|---|---|
| 5.1 | 3.5 | 1.4 | 0.2 | 0 = setosa |
| 7.0 | 3.2 | 4.7 | 1.4 | 1 = versicolor |
| 6.3 | 3.3 | 6.0 | 2.5 | 2 = virginica |
Within the workspace, insert the following Python code:
iris.py
import pickle
from sklearn import datasets
from sklearn.metrics import accuracy_score
from sklearn.model_selection import train_test_split

iris = datasets.load_iris()
X, y = iris.data, iris.target

X_train, X_test, y_train, y_test = train_test_split(X, y, train_size=0.60)

from sklearn import tree
classifier = tree.DecisionTreeClassifier()

classifier.fit(X_train, y_train)
print('Accuracy = %.2f' % ( accuracy_score(y_test, classifier.predict(X_test)) * 100 ))

pickle.dump(classifier, open('iris_model.pkl', 'wb'))
Commit the model to a project
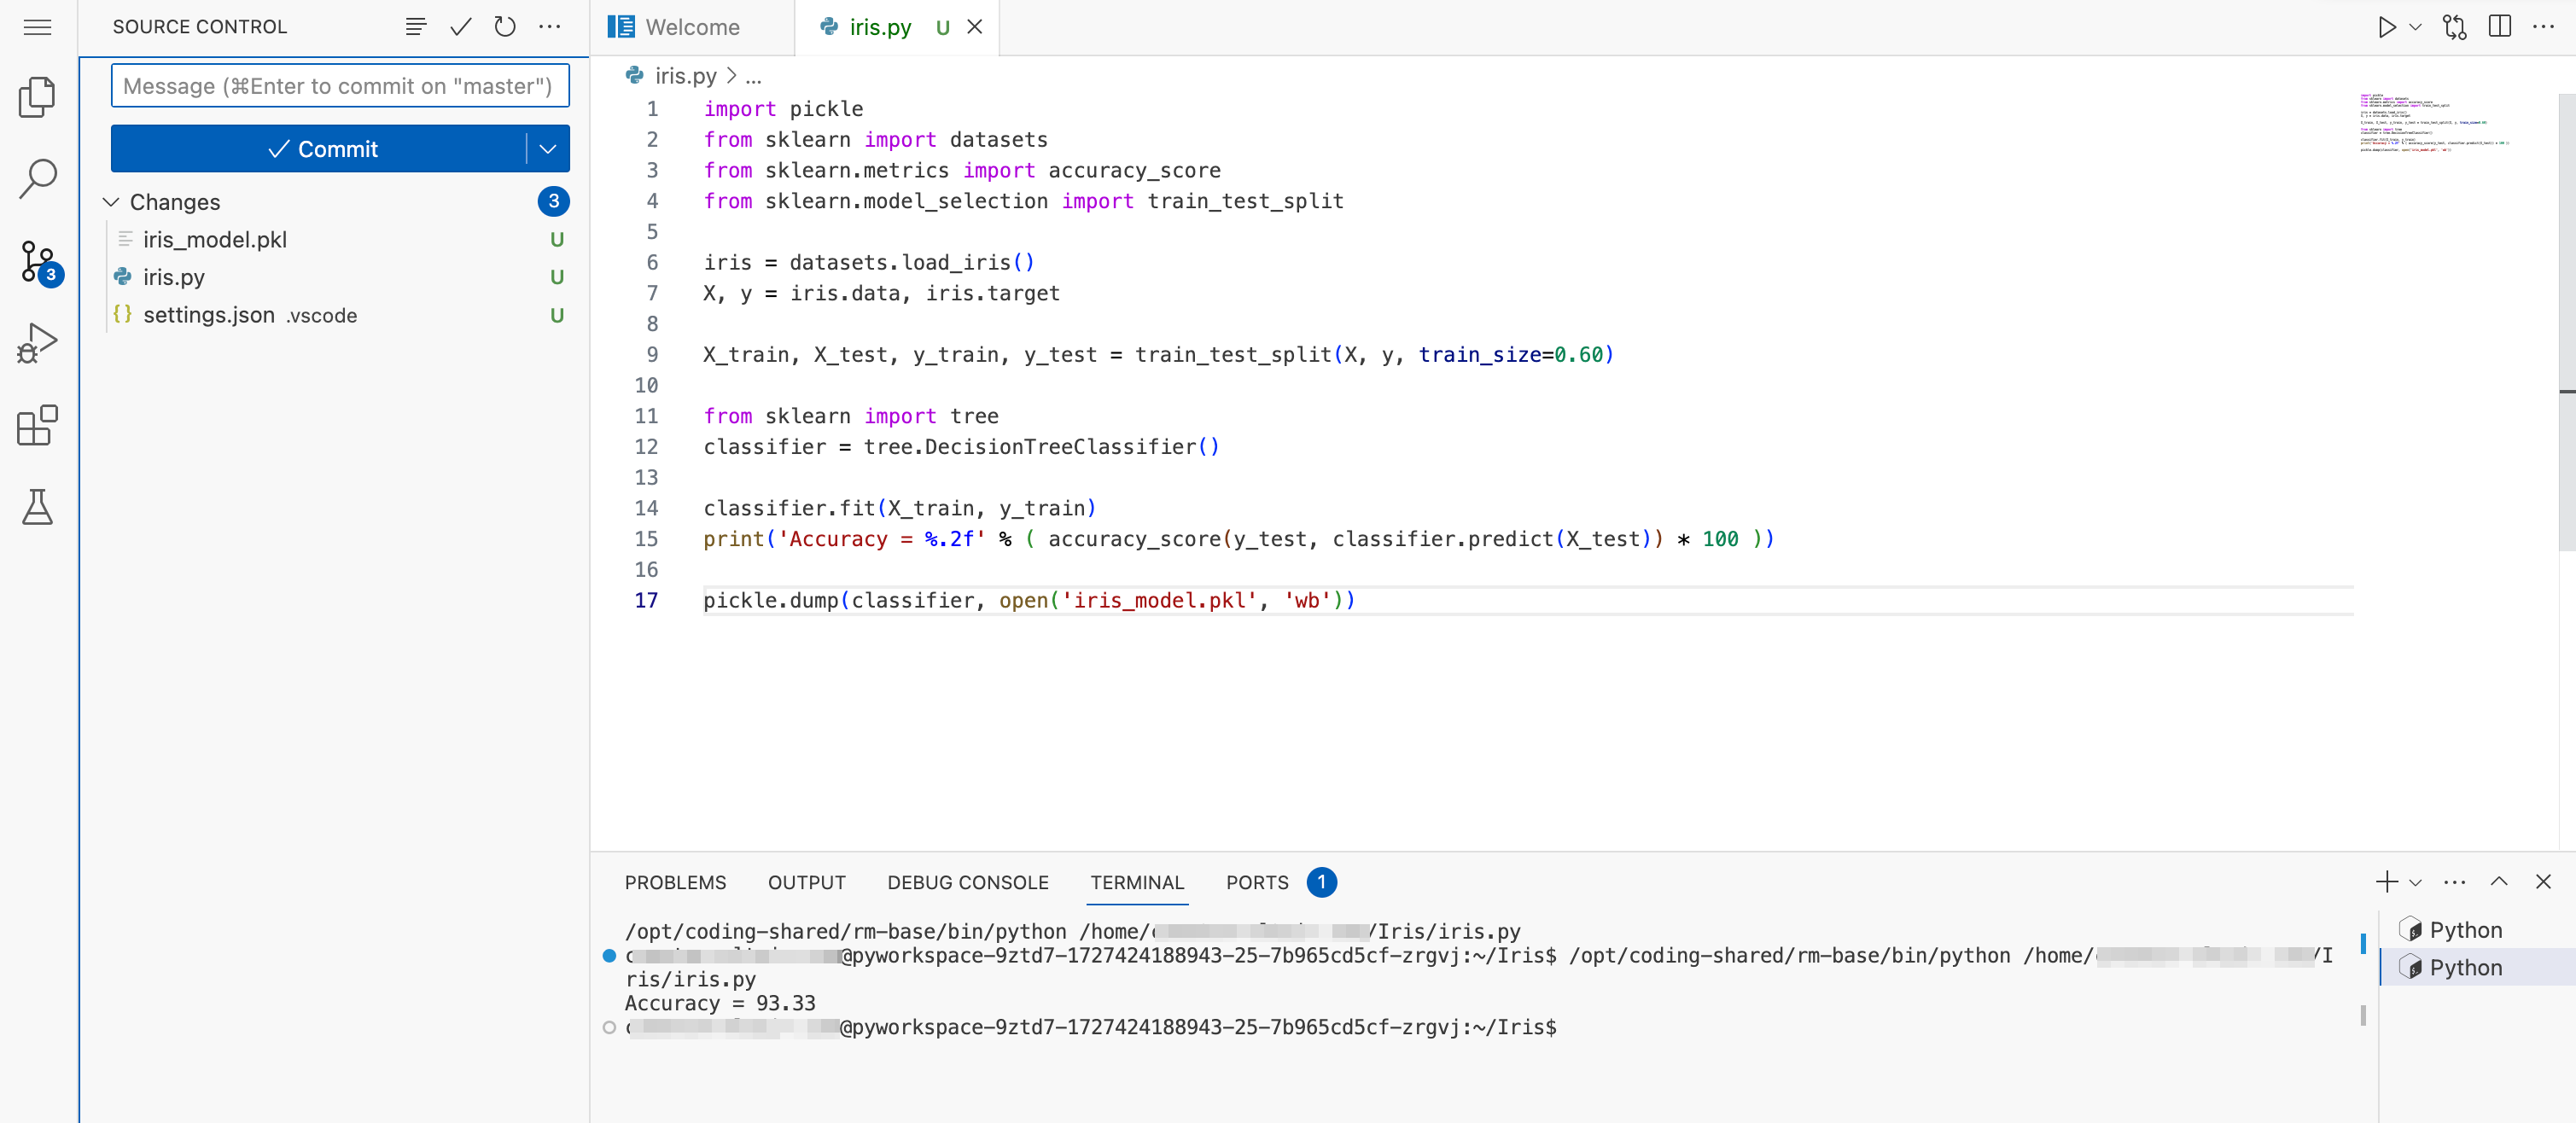
Once the program iris.py is saved to the workspace, you can run the program to create the model iris_model.pkl. If, unlike this example, you are using an externally created model, save that model to the workspace.
-
Click the arrow on the upper right to run the program. A console will appear with some output.
-
Click the Source control icon on the left side to see the untracked changes, marked U:
- iris.py
- iris_model.pkl
-
For each of these files, click the associated
+icon to start tracking changes. The U ("Untracked") status should change to A ("Added"). Note that for the sake of the Model API deployment, you only need the model file iris_model.pkl, but it's wise to commit the program iris.py at the same time, so that you will have a record of how the model was created. -
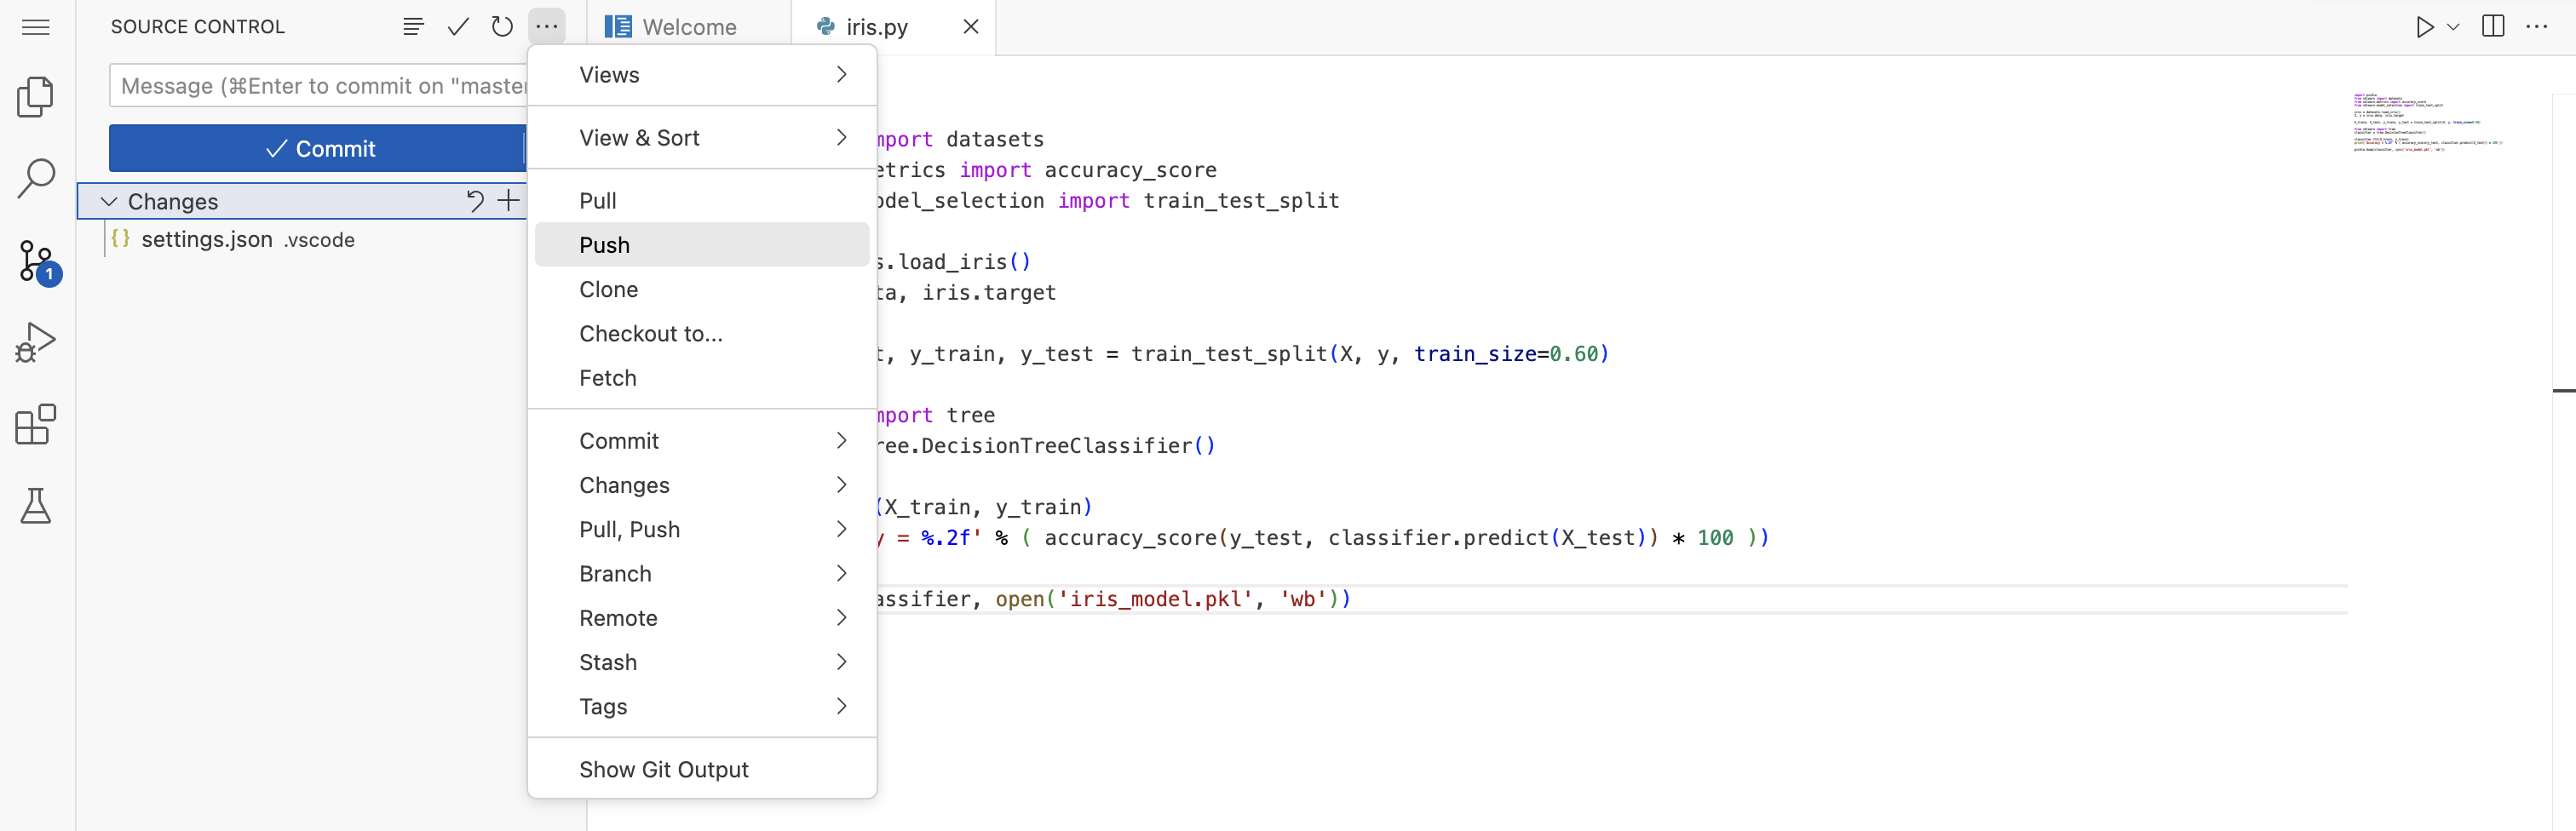
Enter a commit message, and press Commit.
-
Finally, you must Push the local commit to the project, via the workspace user interface.
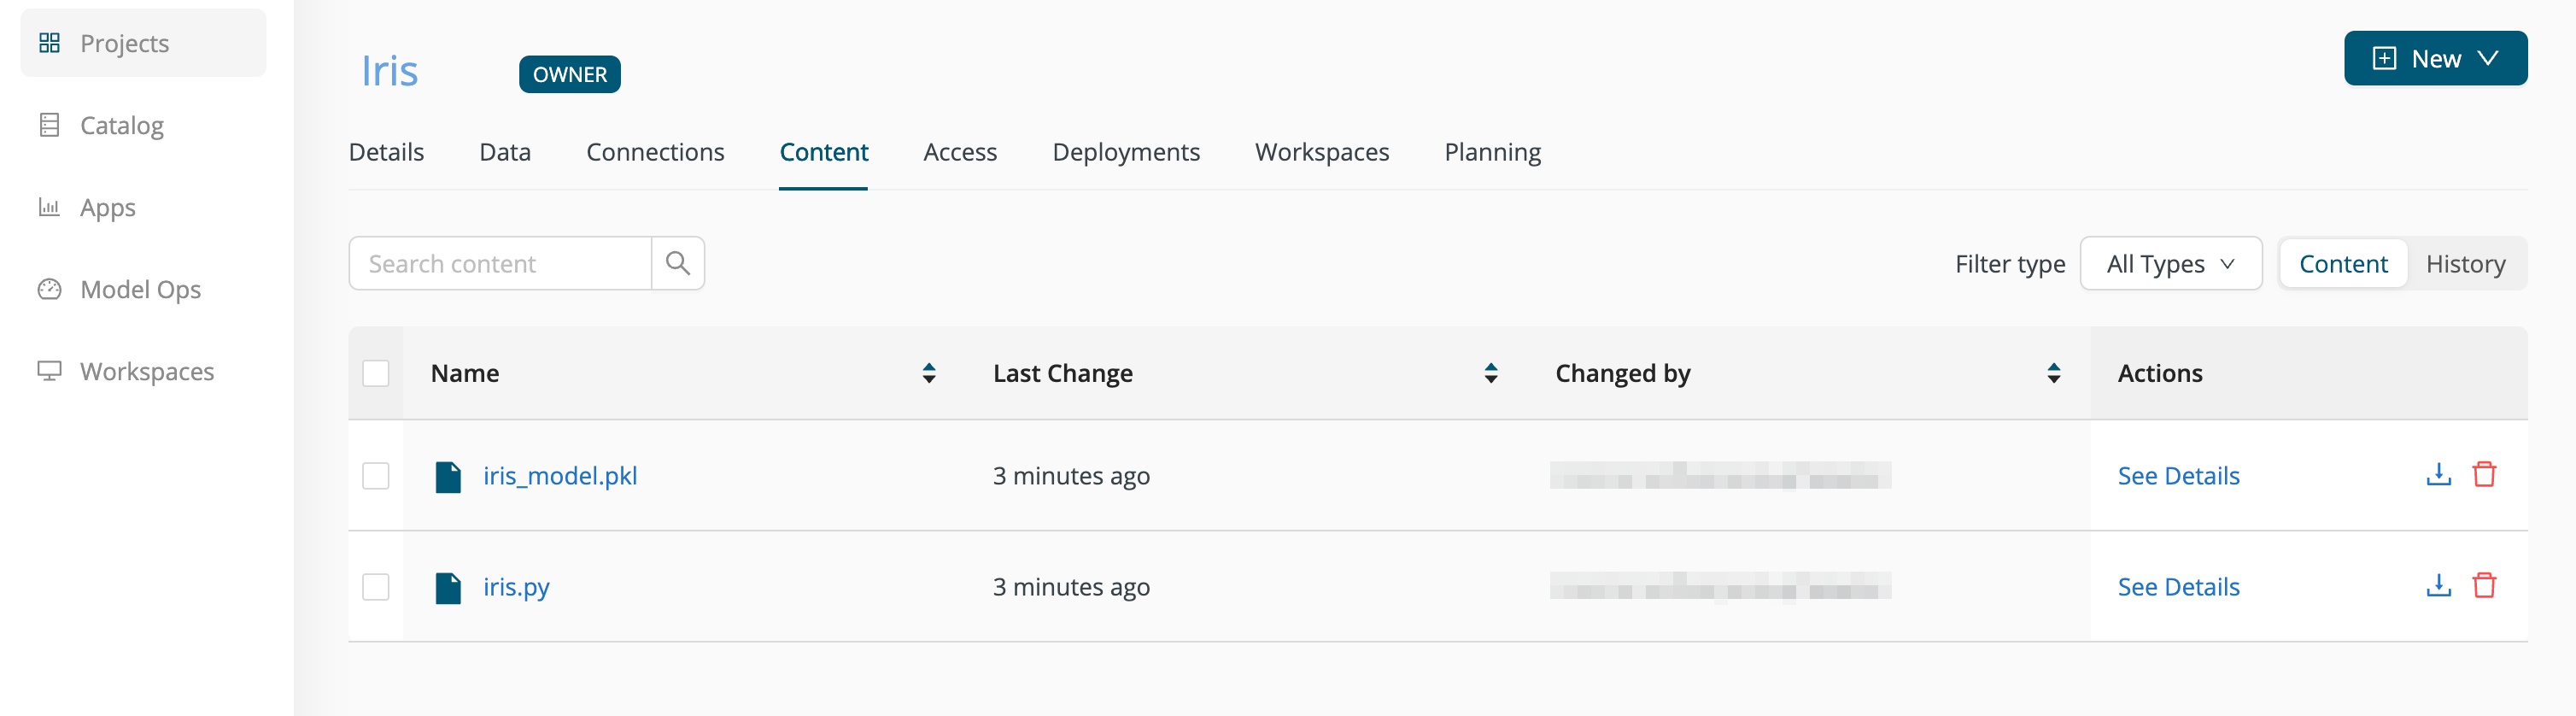
After a successful Commit and Push, the model should be visible in the Content tab of the Iris project.
Create a Model API deployment
To avoid problems, choose model file and folder names without spaces or special characters.
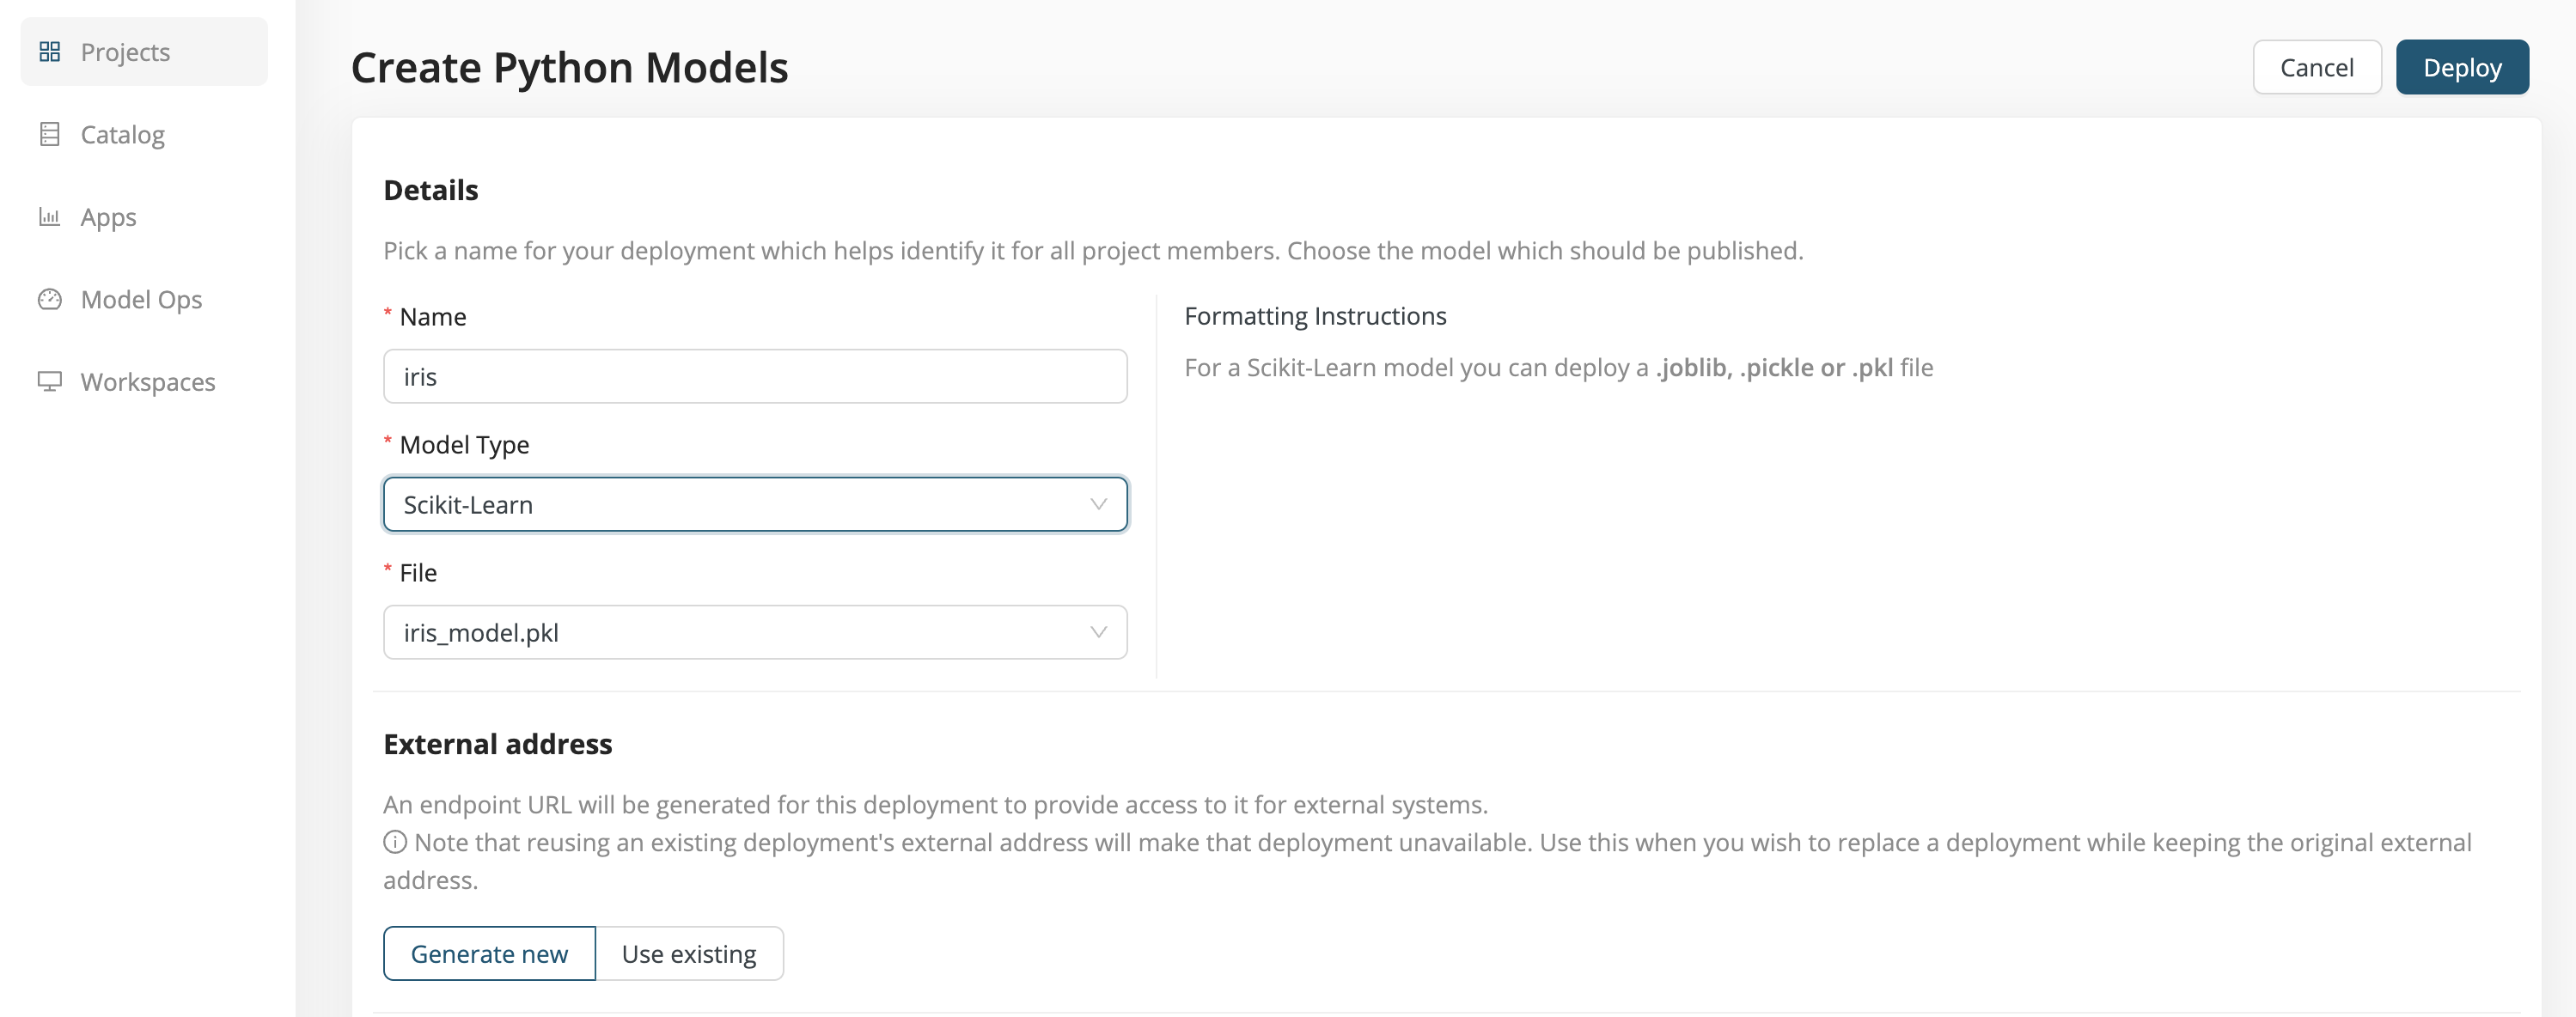
Create a deployment and select Model API as your deployment type.
-
Name - Choose a name for your deployment, in this case iris.
-
Model Type - We have created a model based on
scikit-learn, so choose Scikit-Learn from the dropdown menu. The supported Model Types are described below. -
File or Folder - The name of the model file or folder, in this case iris_model.pkl. The Formatting Instructions depend on the Model Type, as described in more detail below. To avoid problems, choose File and Folder names without spaces or special characters.
-
External address - If you are generating a new deployment, choose Generate new. If you wish to update and overwrite a pre-existing deployment (because, for example, you have improved the model), choose Use existing.
-
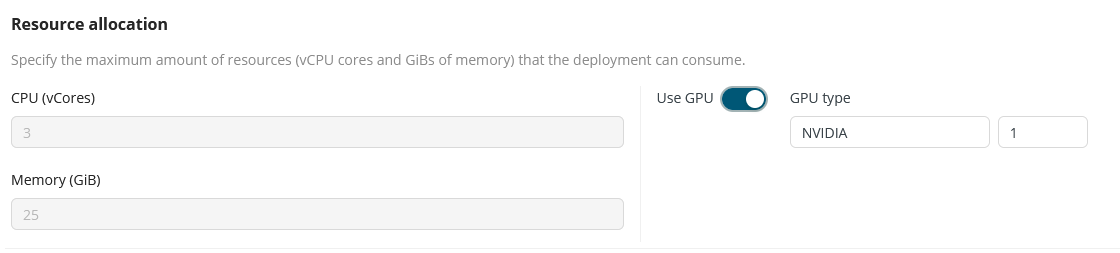
Resource allocation - Specify the maximum amount of resources (vCPU cores and GiBs of memory) that the deployment can consume. If a GPU is available, you can enable the GPU.
-
Security - With security enabled, a secret will be generated for your deployment, which will only accept and serve requests if you provide this secret in every request in the HTTP header
Authorization. With security disabled, your deployment will be accessible to everyone who knows its URL. -
Input format and Output format
Finally, you can define how you would like to send and receive the calls and responses, giving you better flexibility to set up your integrations. Both formats adhere to the Open Inference Protocol, with the main distinction being that the column-based format transposes the data. Note that the Call Endpoint operator is currently compatible only with the default row-based format.

For our example, we choose Generate new external address and Enable security, then click Deploy.
- The deployment starts, and the Details tab of the deployment appears.
- The Test tab allows you to test your deployment, and
- the Health tab shows that the deployment is healthy.
Generate predictions
Once the deployment is live, we are ready to make predictions. Because of the REST API, the deployment is available to any program that knows HTTP -- that's a large set of programs!
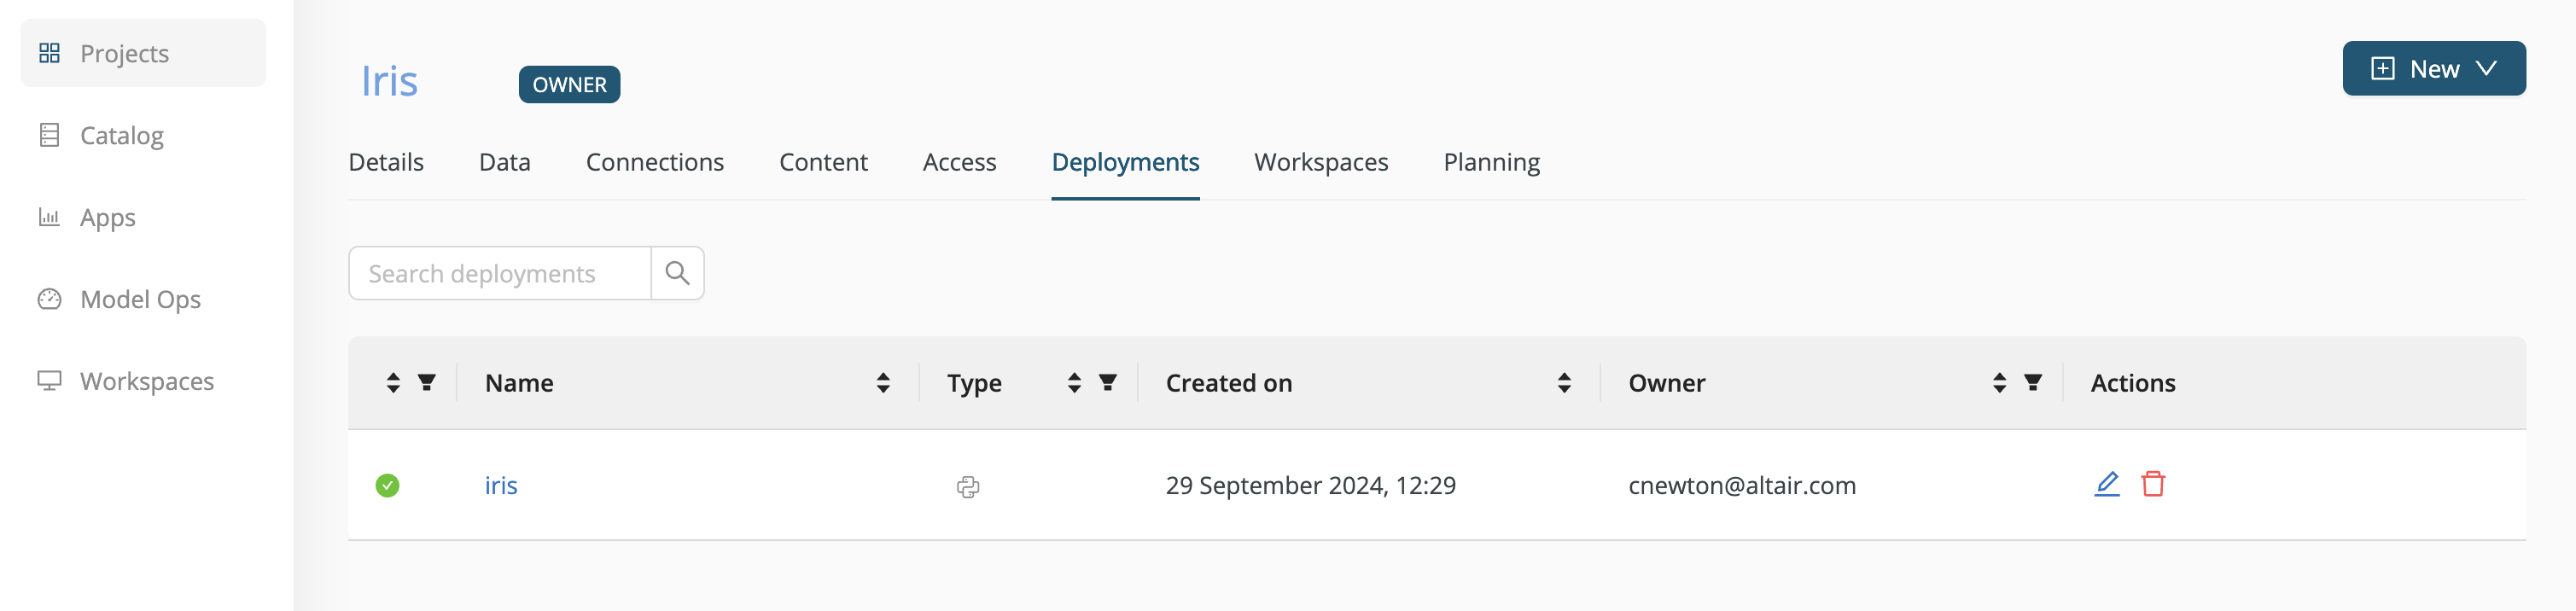
Starting from the Deployments tab of the project, Click on iris.
The Details tab of the deployment opens. Click on the Test tab.
The steps for generating a prediction can be summarized as follows.
-
Identify the endpoint URL.
The endpoint URL can be found in the Test tab, under Test your deployment externally,
https://example.com/api/ext/xxxxxxxx-xxxx/v2/models/iris_model.pkl/infer
or in the Details tab, under External address.
https://example.com/api/ext/xxxxxxxx-xxxx
These two URLs are not identical. The first URL is the one you want when generating predictions, while the second can be useful in other contexts, for example when you want to obtain model metadata. In that case, you will need a different postfix than /infer.
-
Identify the endpoint security method.
If you enabled security, the secret is provided
-
in the Test tab, under Test your deployment externally and
-
in the Details tab, under Security.
DW-Secret xxxxxxxx-xxxx-xxxx-xxxx-xxxxxxxxxxxx
-
Format the input data as JSON
Your input data must be formatted as JSON. The Model API deployment will transform the JSON format into rows and columns readable by the model.
For example, two rows of Input data for the model we created in connection with the Iris data set might take the following form.
{
  "inputs": [
    {
      "name": "input-0",
      "shape": [
        2,
        4
      ],
      "datatype": "FP32",
      "data": [
        [
          7.0,
          3.2,
          4.7,
          1.4
        ],
        [
          6.3,
          3.3,
          6.0,
          2.5
        ]
      ]
    }
  ]
}
The JSON input includes the following elements:
-
name- If there is more than one input, the names must be unique. But since the outputs are labeled "output-0", "output-1", etc., it seems logical to call the first input "input-0". -
shape- an array reflecting the number of rows and columns for the input data"shape": [<number of rows>, <number of columns>] -
datatype- See the Tensor Data Types -
data- an array of JSON arrays, containing the input data, consistent with theshape"data": [ [row1], [row2], [row3] ]
POST the data to the endpoint URL
From within the Test tab of the iris deployment, enter the input JSON as described above into the Input data field and click Run Test.
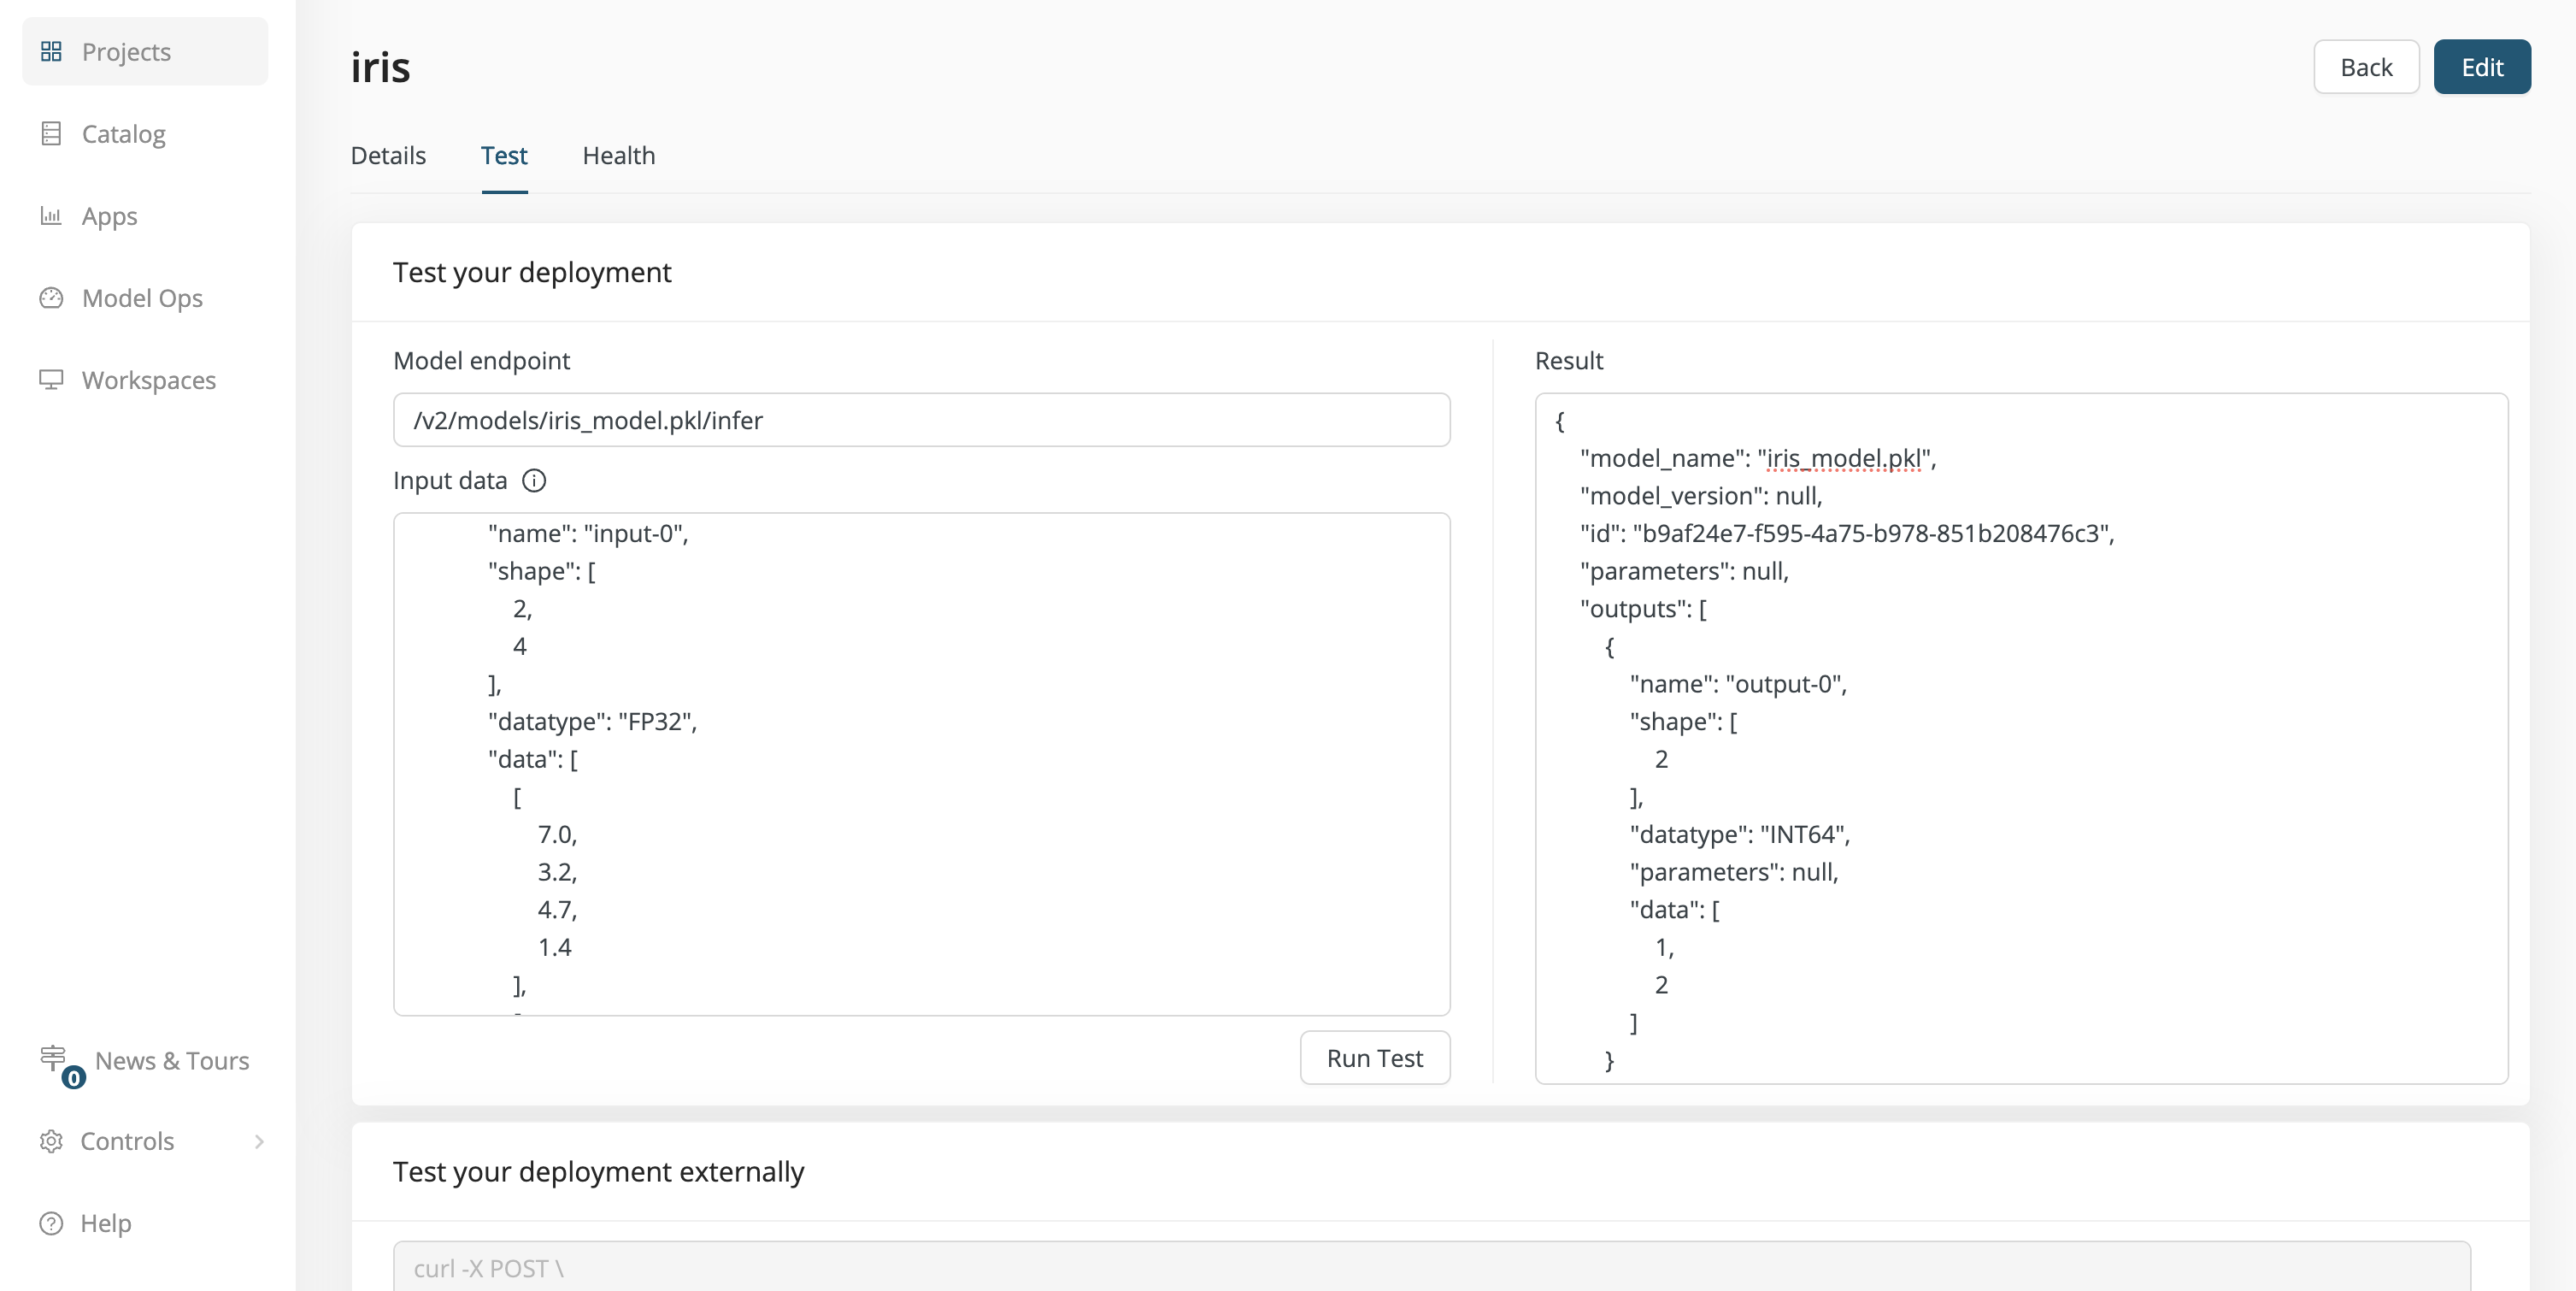
The Result is the following:
{
  "model_name": "iris_model.pkl",
  "model_version": null,
  "id": "b9af24e7-f595-4a75-b978-851b208476c3",
  "parameters": null,
  "outputs": [
    {
      "name": "output-0",
      "shape": [
        2
      ],
      "datatype": "INT64",
      "parameters": null,
      "data": [
        1,
        2
      ]
    }
  ]
}
Interpretation: the shape is 2, because there are 2 outputs in the data array, namely 1 and 2. Returning to the data sample provided under Create a Python model, you can see that these results correspond to the Iris types versicolor and virginica, as expected.
Under Test your deployment externally, the Test tab also provides an external test, using curl, with the same input data you provided in the Input data field. If you prefer, you can place the input JSON described above in an external file, called iris.json, and execute the following command. The result will be the same.
curl -X POST \
https://example.com/api/ext/xxxxxxxx-xxxx/v2/models/iris_model.pkl/infer \
-H 'Content-Type: application/json' \
-H 'Authorization: DW-Secret xxxxxxxx-xxxx-xxxx-xxxx-xxxxxxxxxxxx' \
-d @iris.json
Note that the JSON format does not support comments or trailing commas.
Of course, you are not in any way limited to curl!
To get the same result with Python, use the requests library.
import requests

endpoint_url = 'https://example.com/api/ext/xxxxxxxx-xxxx/v2/models/iris_model.pkl/infer'
headers = {'Authorization' : 'DW-Secret xxxxxxxx-xxxx-xxxx-xxxx-xxxxxxxxxxxx'}
my_input_data = {"inputs":[{"name":"input-0","shape":[2,4],"datatype":"FP32","data":[[7.0,3.2,4.7,1.4],[6.3,3.3,6.0,2.5]]}]}

r = requests.post(endpoint_url, headers=headers, json=my_input_data)
json_output = r.json()

print(json_output)
Supported models
For completion, we provide here a list of supported Python models and describe the file / folder format that the deployment expects to find within a project. Care must be taken to exactly follow these formatting instructions.
Scikit-Learn
For a Scikit-Learn model, you can deploy a .joblib, .pickle or .pkl file.
TensorFlow
For TensorFlow, you can deploy a folder structure (Note: the root folder name should match the one in config.pbtxt).
my-model
    |
    +-- config.pbtxt
    +-- 1
        |
        +-- model.savedmodel
            |
            +-- saved_model.pb
            +-- variables
                |
                +-- variables.data-00000-of-00001
                +-- variables.index
Pytorch
For PyTorch, you can deploy a folder structure (Note: the root folder name should match the one in config.pbtxt).
my-model
    |
    +-- config.pbtxt
    +-- 1
        |
        +-- model.pt
LightGBM
For a LightGBM model, you can deploy a .bst file.
Paddle
For Paddle, you can deploy a single file with the .pdmodel, .pdiparams, .pdparams format, or a folder.
my-model
    |
    +-- model.pdmodel
    +-- model.pdparams
PMML
For a PMML model you can deploy a .pmml file.
Spark MLib
For Spark MLlib, you can deploy a .pmml file.
XGBoost
For an XGBoost model, you can deploy a .bst, .ubj or .json file.
ONNX
For ONNX, you can deploy a folder structure (Note: the root folder name should match the one in config.pbtxt).
my-model
    |
    +-- config.pbtxt
    +-- 1
        |
        +-- model.onnx
Autoscaling
Autoscaling is now available for all types of deployments in AI Cloud. This feature allows you to automatically adjust the number of running service instances based on traffic demand — ensuring optimal performance while managing resource usage efficiently.
You can configure autoscaling settings when creating a new deployment via the Deployment creation UI.
Read more: Autoscaling