Getting Started
This page gives an overview about how to work with Agent Studio. The first sections will describe how to create a new instance of Agent Studio and how to create a new flow. It also explains some basic elements of Agent Studio.
Create an Agent Studio instance
Before you get started designing new Agents, the first step is to create a new Agent Studio instance. Under Development → Workspaces you can find an overview of your existing Agent Studio instances.
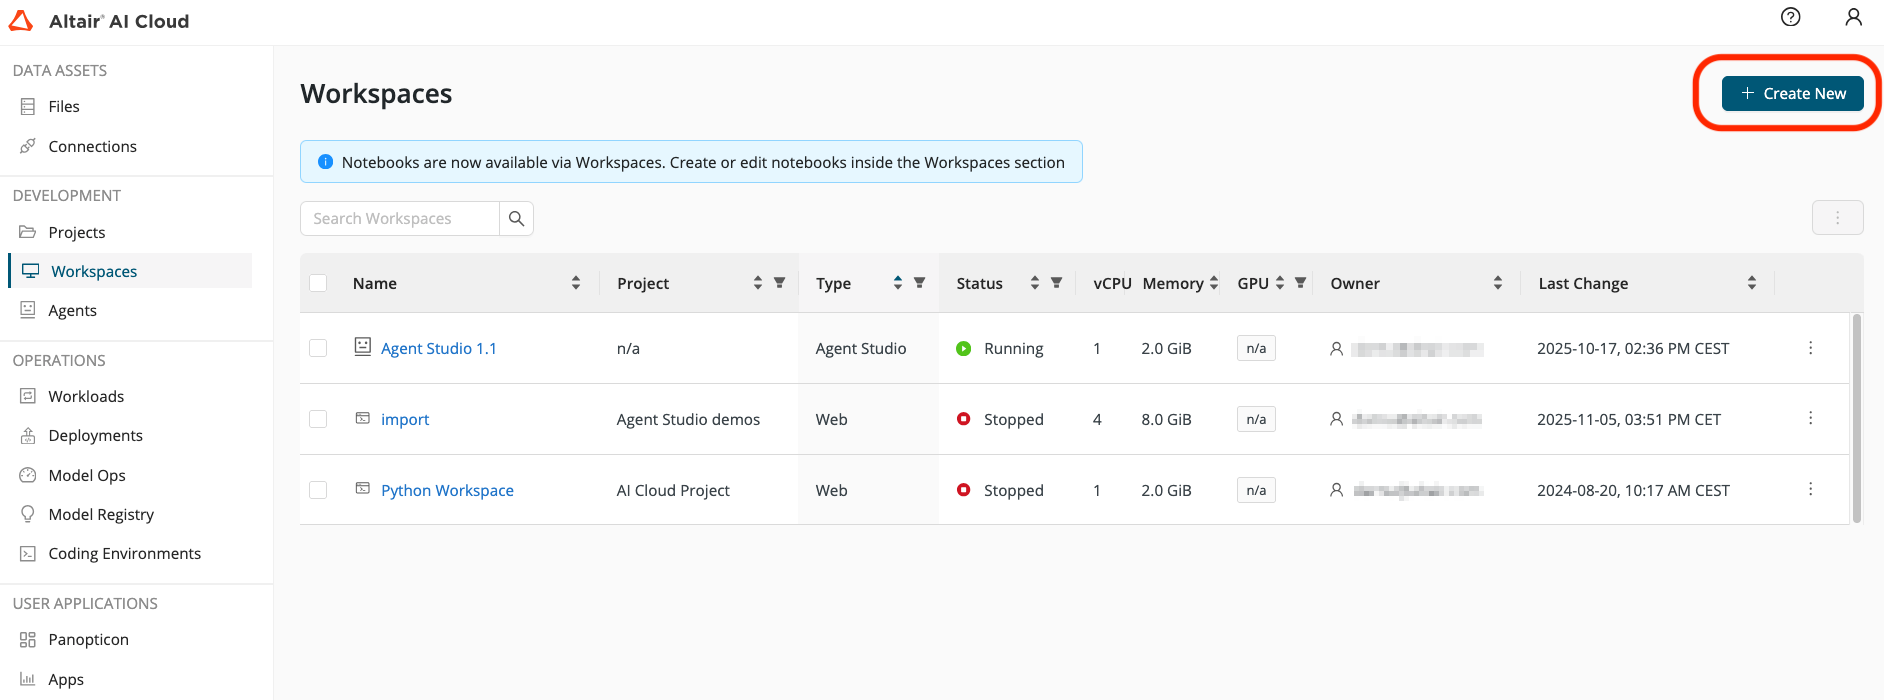
If you don’t have an instance yet, you can create a new one by clicking the Create New button and select Agent Studio and follow the steps to configure and launch your new instance. Most of the workload of Agent Studio is done by external LLMs or deployments, so the default resources are more than enough for most use cases.

Please note, that Agent Studio is independent of your projects, so it’s normally enough to have only one Agent Studio instance running.
Inside Agent Studio
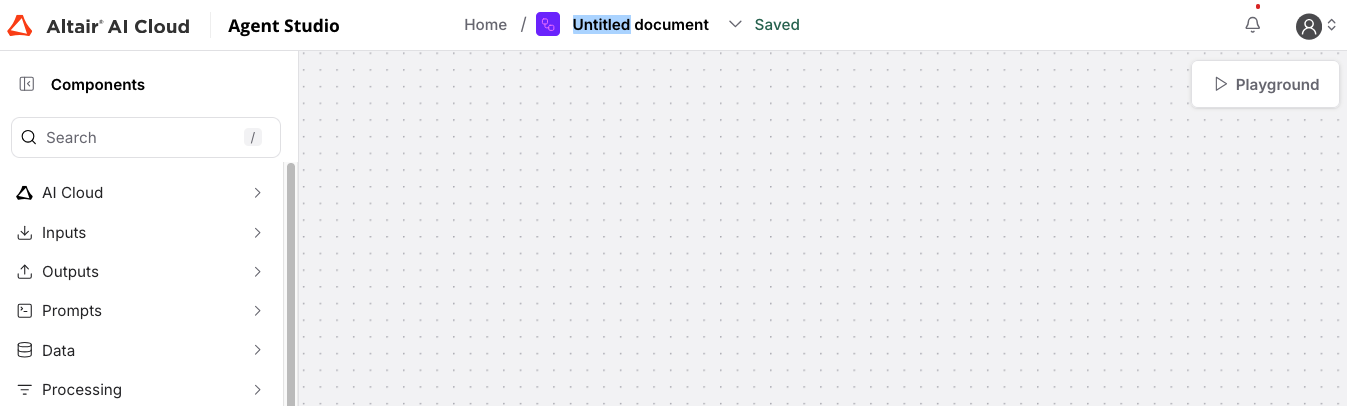
The start page of Agent Studio provides a centralized overview of all the flows you have created, giving you quick access to manage, edit, or review your existing workflows.
You can create a new flow by either selecting one of the templates or by starting with a blank flow. (Please note, that the templates are generic examples that might not work out-of-the-box and might require some changes)
You can always change the name of your flow, by clicking on the name and type the new name:
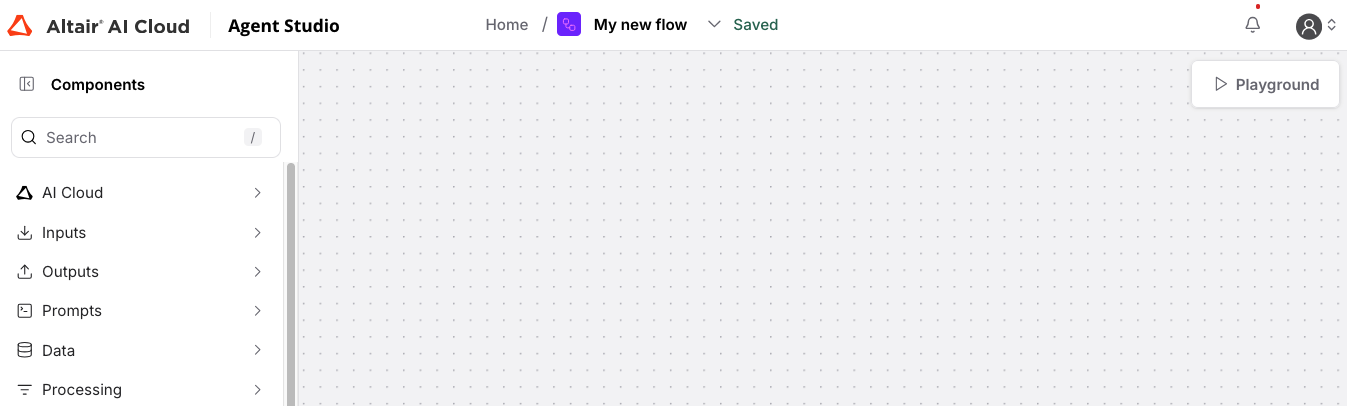
Building a flow
Once the new flow is created, you can begin designing it using the drag-and-drop interface. The canvas serves as your workspace, and you can easily add new components by selecting them from the menu on the left and dragging them onto the canvas.
To build a functional flow, start by adding essential components. Typically, flows include input components, which gather data or user interaction (such as inputs from the chat interface), and output components, which display results or responses (either as chat messages or fixed text). These are the building blocks for your flow to communicate with users or external systems.
Connecting components is straightforward. Each component has ports, and you can link them together by dragging connections between compatible ports. To simplify this process, there’s a color-coded system to help match port types. For example, input ports and output ports of the same type will share a matching color, making it easy to identify valid connections.
Additionally, when you click on a port, the menu automatically filters to show only components with compatible ports that can connect to the selected one. This dynamic filtering helps you quickly identify and add the right components to your flow without the need to search manually.
Tool mode
When a component is set into tool model, it gives the connected Agent component the ability to interact with it directly. This means the agent can perform specific tasks, like making an API call or sent data to a deployed workflow by directly configuring the tools. The user does not have to provide the values manually, but the agent can decide which tool to use and what parameters to set.
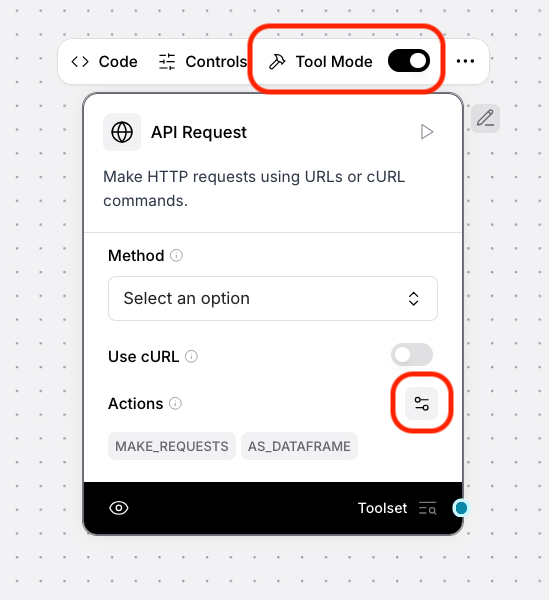
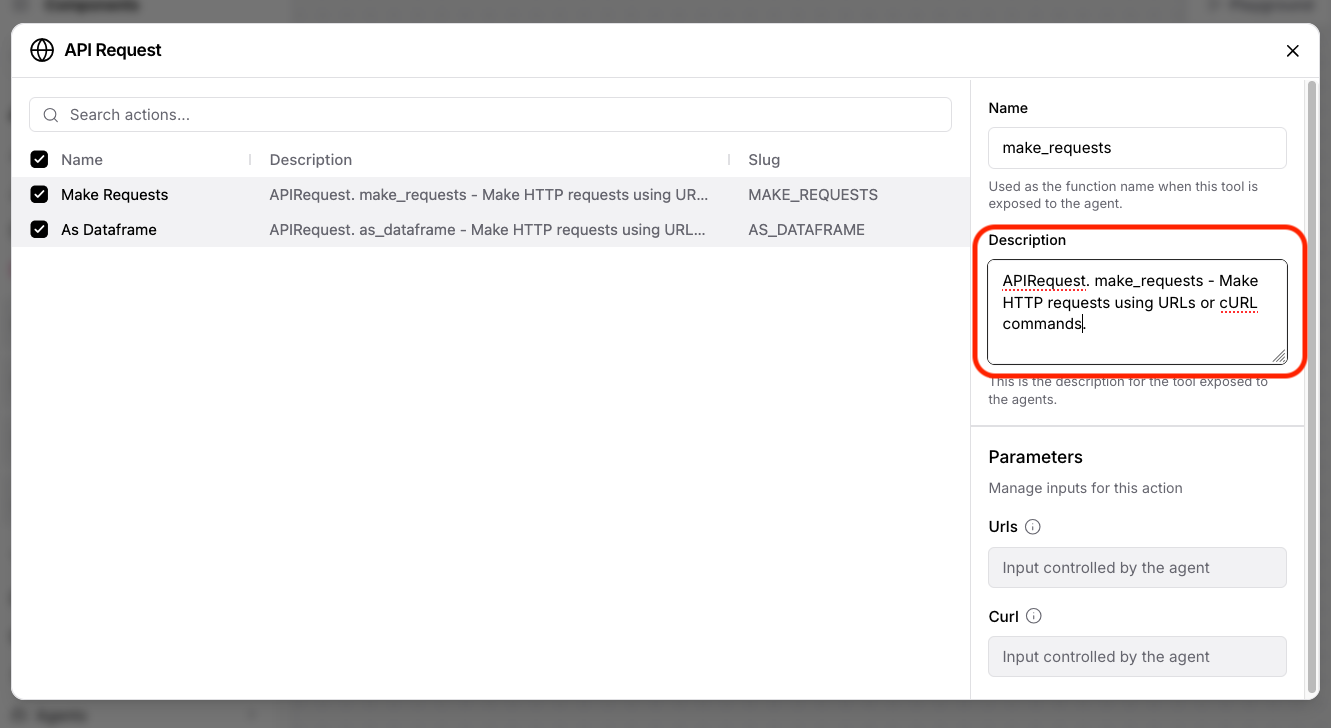
In tool mode the available actions are listed at the bottom of the component and their description can be edited as well. This can be important to fine-tune the tool selection of an agent, or to define the scope of customizable components, like Call Workflow.
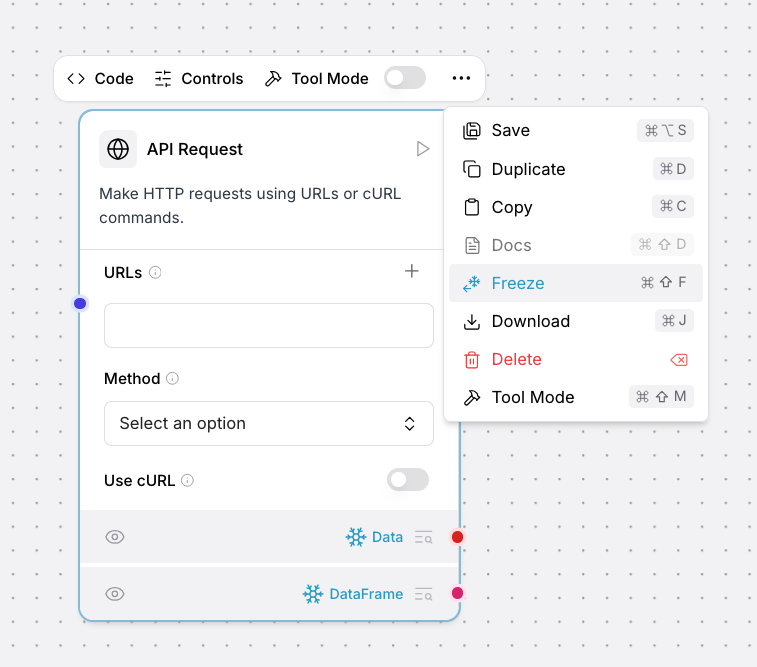
Freeze component
Components can be frozen and then their last results are kept without executing this component again. This can be helpful while building your flows to reduce external requests or to fine-tune the flow for a specific response.
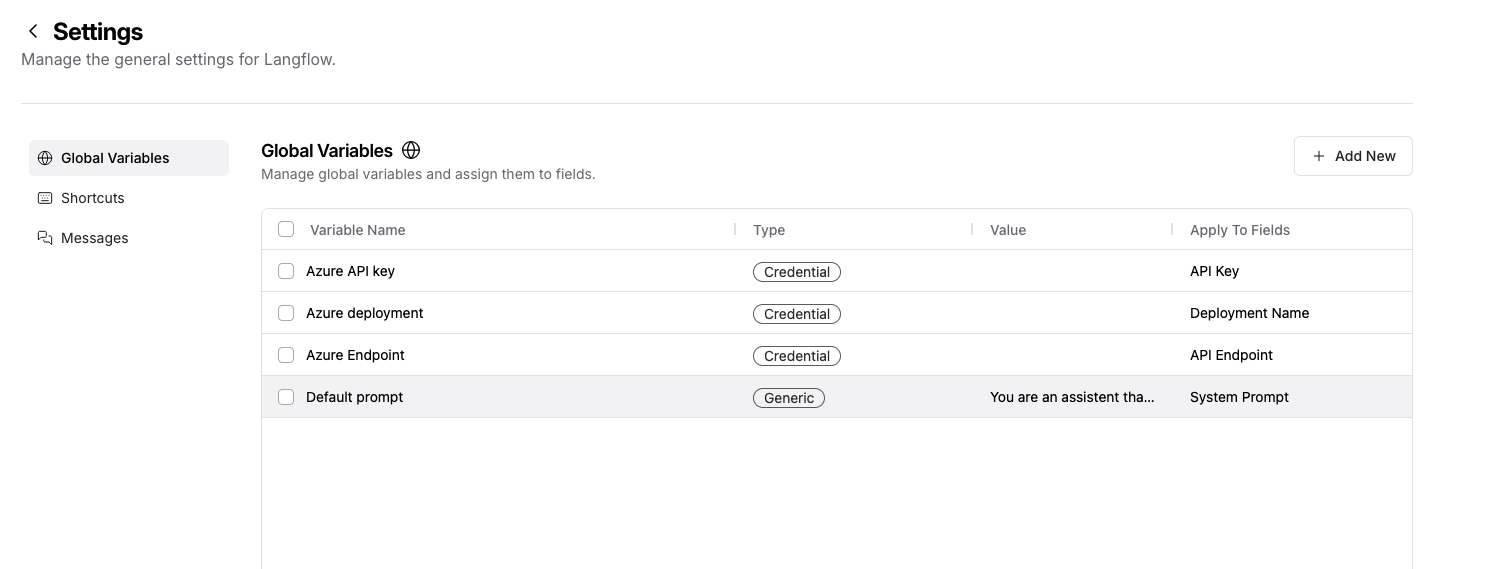
Variable store
Under the settings menu in the top right corner, you can find the Global Variables store. There you can define variables, that can be used to configure the flow, without the need to enter the values manually. This is useful to manage credentials or API keys.
There are two types of variables: Generic and Credential. Credentials are extra protected and their values also don't appear in the Variables overview. Your variables will also not be shared when you export a flow, unless you explicitly select them.