Schedule
Once a workflow is created and can run without errors, the execution can be automated to run on a pre-set schedule.
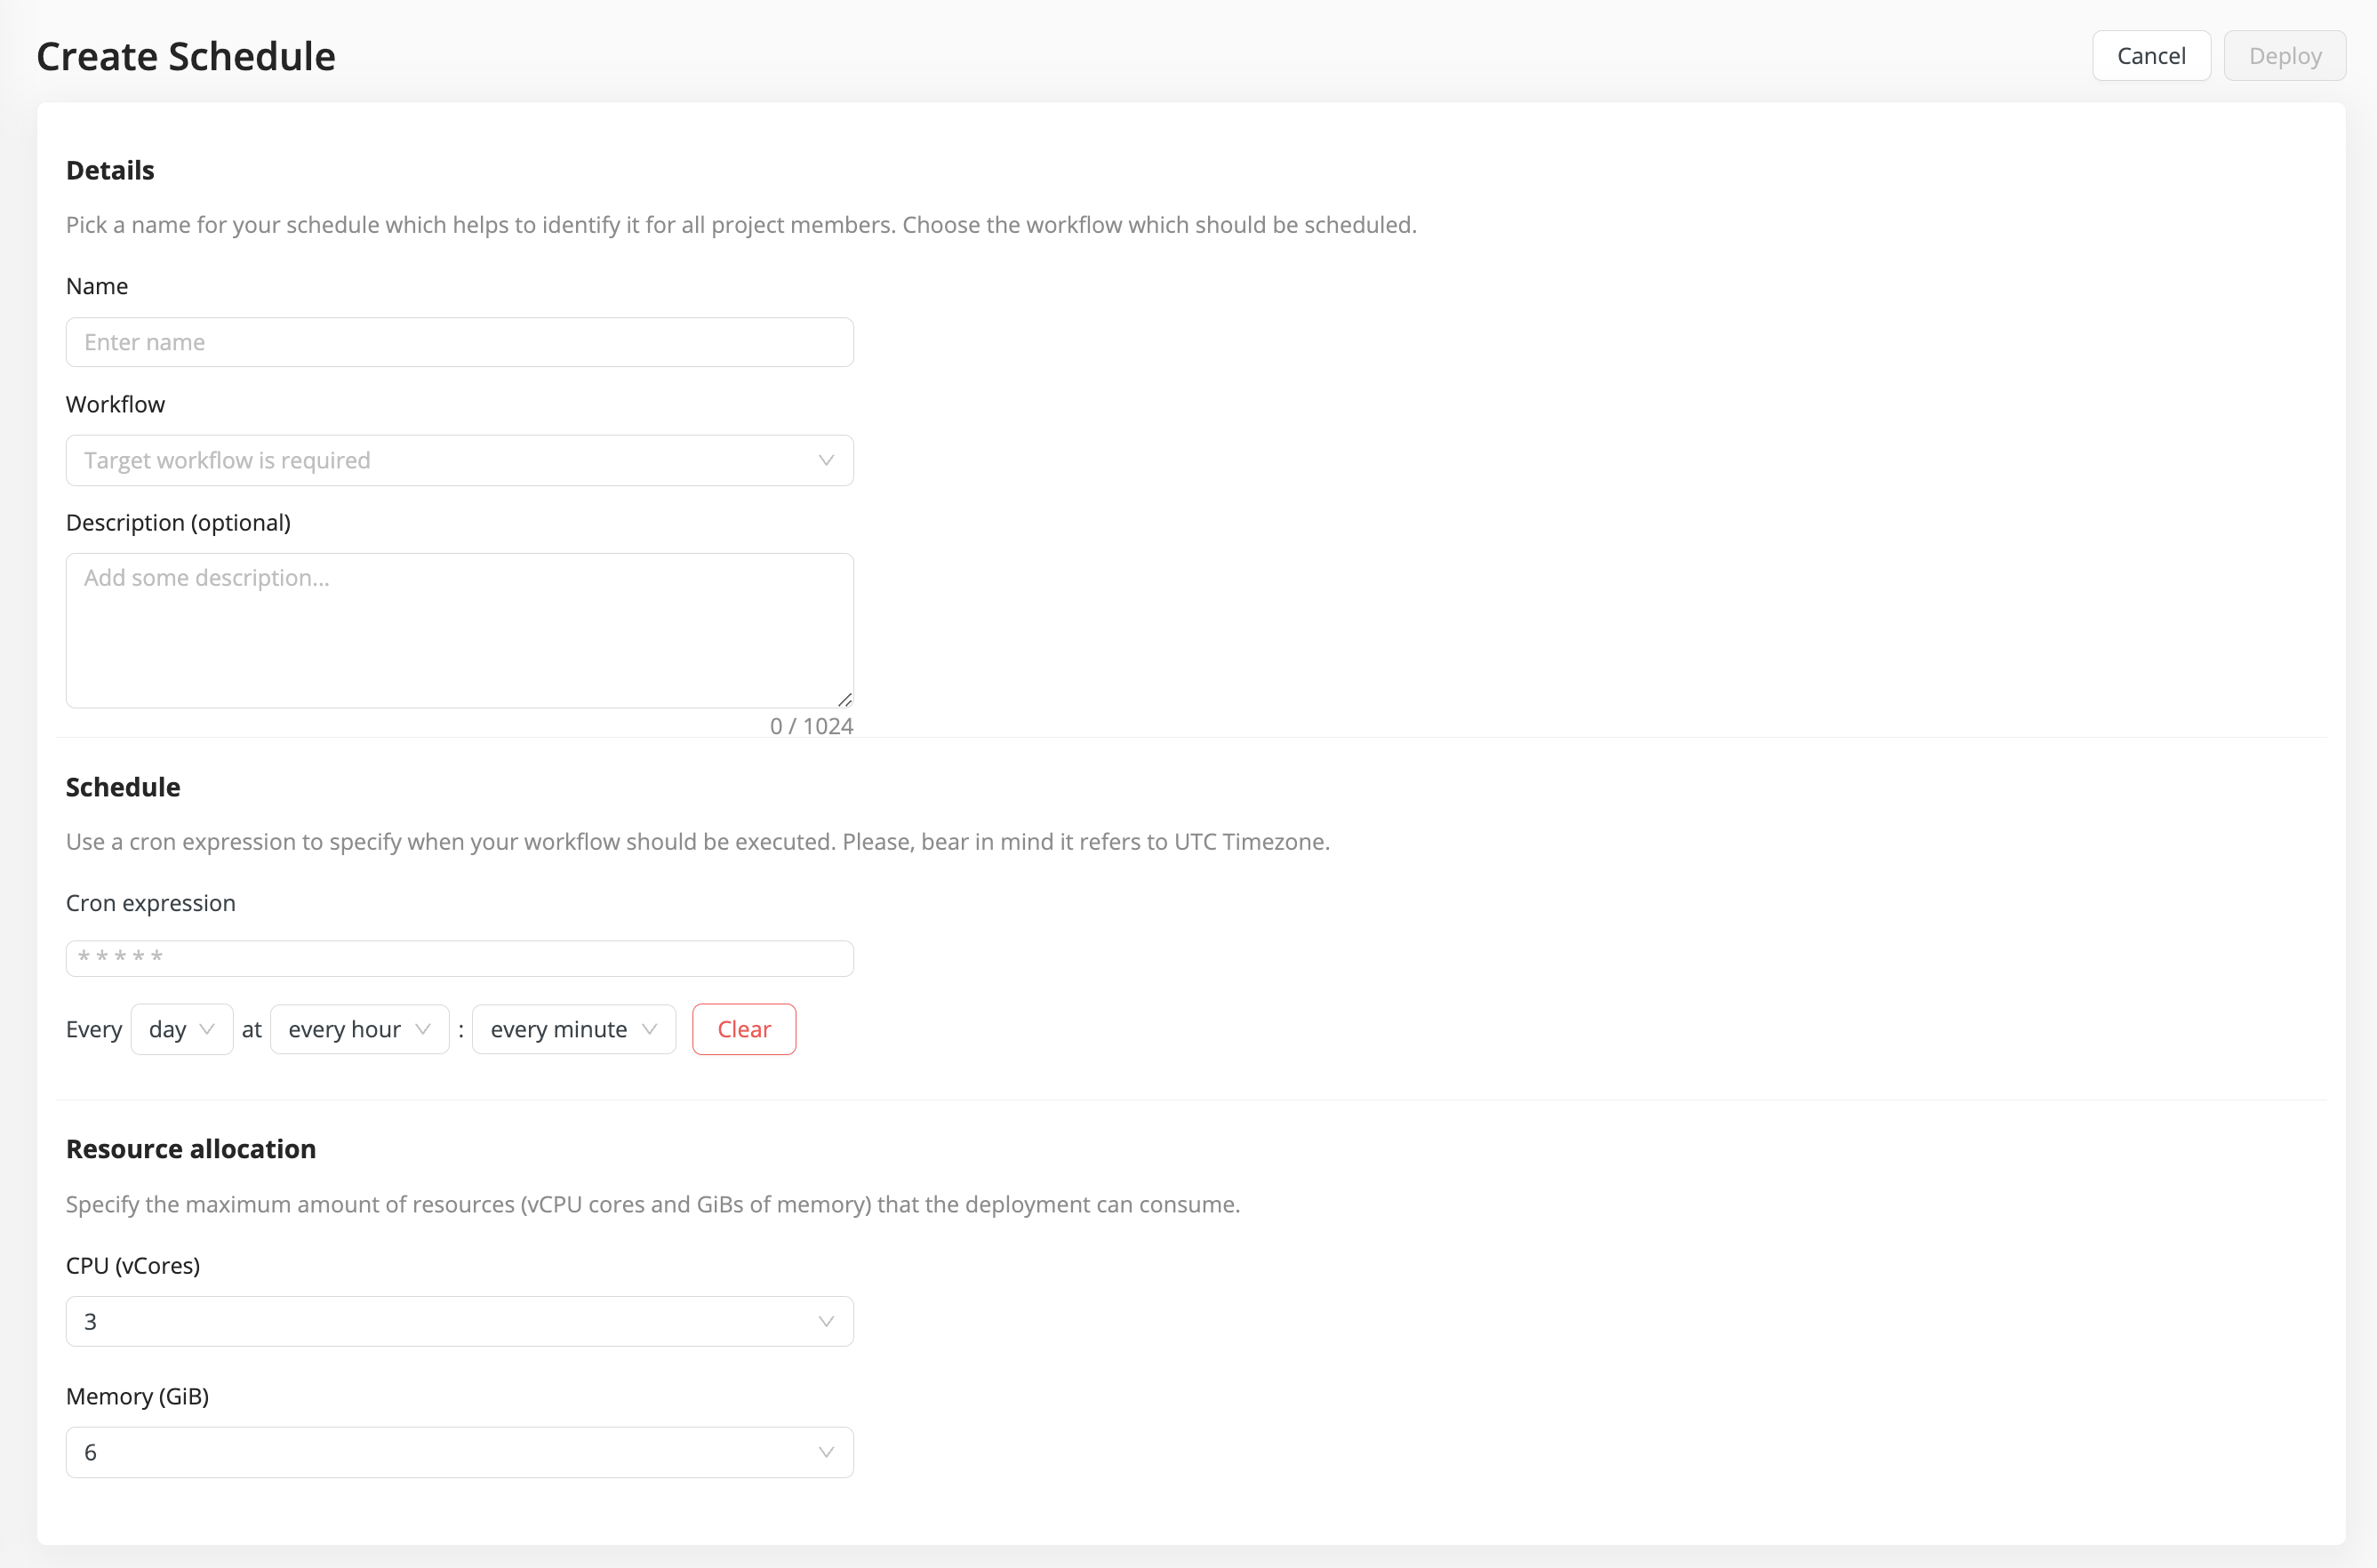
Create a scheduled deployment
When you create a deployment, select Schedule as your deployment type.
-
Name - Give your deployment an arbitrary name.
-
Workflow - Select the workflow you wish to deploy.
-
Description (optional) - Describe what the workflow does.
-
Schedule - The schedule can be set with a cron job definition or by using the editor help that fills in the cron definition. The editor allows for multiple selections.
-
Resource allocation - Select the resource quota the deployment is allowed to consume.
You can increase the pre-set allocated resources if you have designed a resource intensive task. You can easily change this setting at a later time by editing your deployment (the schedule that you have now created).
Editing the automation
On the Deployment Details page, the resource setting and resource usage of the deployment are visible, which can help optimize your automation. Editing an existing deployment is always possible, changing the size or the schedule might be needed due to changes on the data source side. Be sure to re-deploy after making edits to ensure your changes are published.
Monitoring executions
Clicking on your deployed workflow on the Deployments tab of your project will take you to its details page. You can observe executions that have happened recently or are currently in progress in the Recent Runs panel.
Any issues with the deployment can be investigated by admin users on the Workloads page where detailed logs are available. All running workloads are listed there and can be filtered by type. You can access it from the left side menu, under Controls > Workloads.
