Create a project
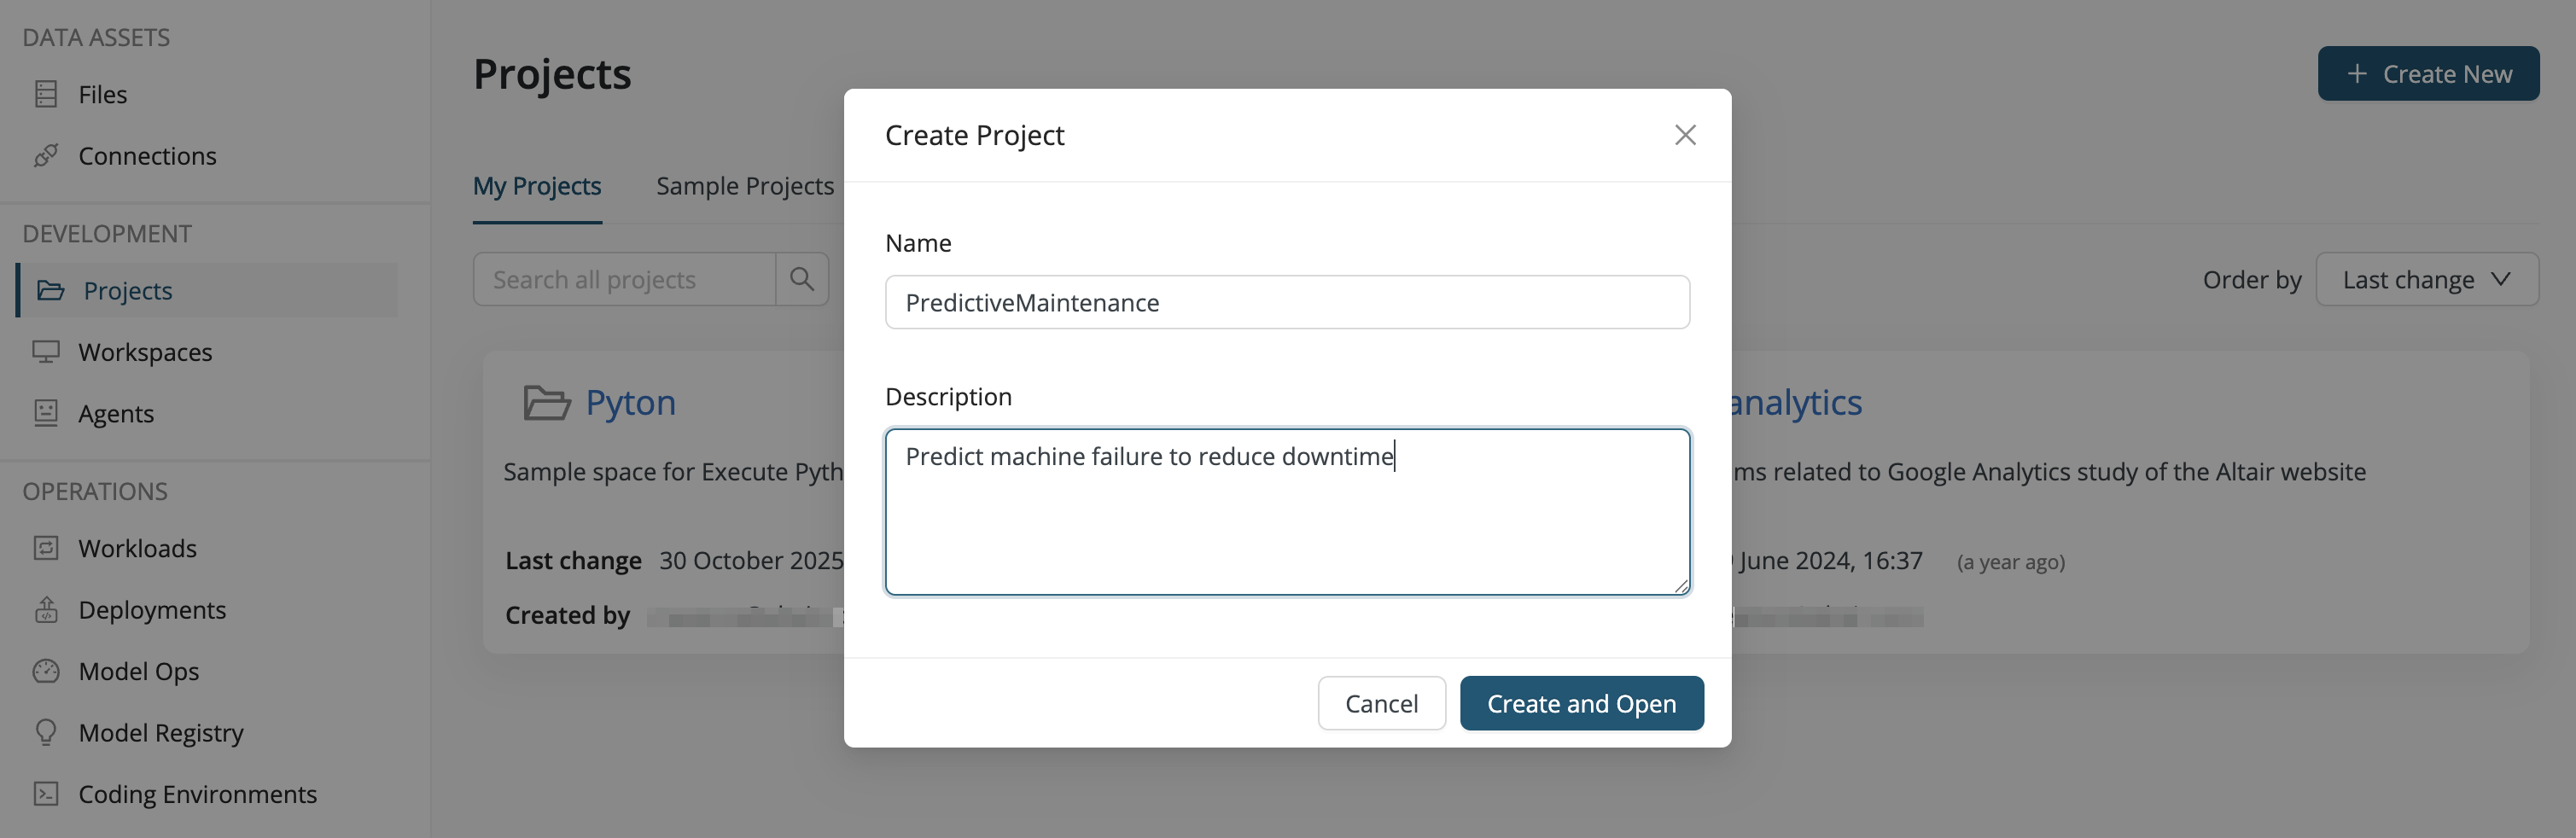
To create a project, select Projects from the side menu, then take the following actions:
- Click the Create New button on the upper right,
- give the project a Name and Description, and click Create and Open.
In connection with the Data Assets, we previously discussed the difference between the global view and the project view. Notice that once you select a project, the user interface for the project view is very similar to the global view, but now all of the left-side menu items are context dependent and specific to this project.
The following left-side menu items are available:
- Files
- Connections
- Planning
- Content
- Workspaces
- Deployments
- Model Registry
- Coding environments
- Details
- Permissions
Files
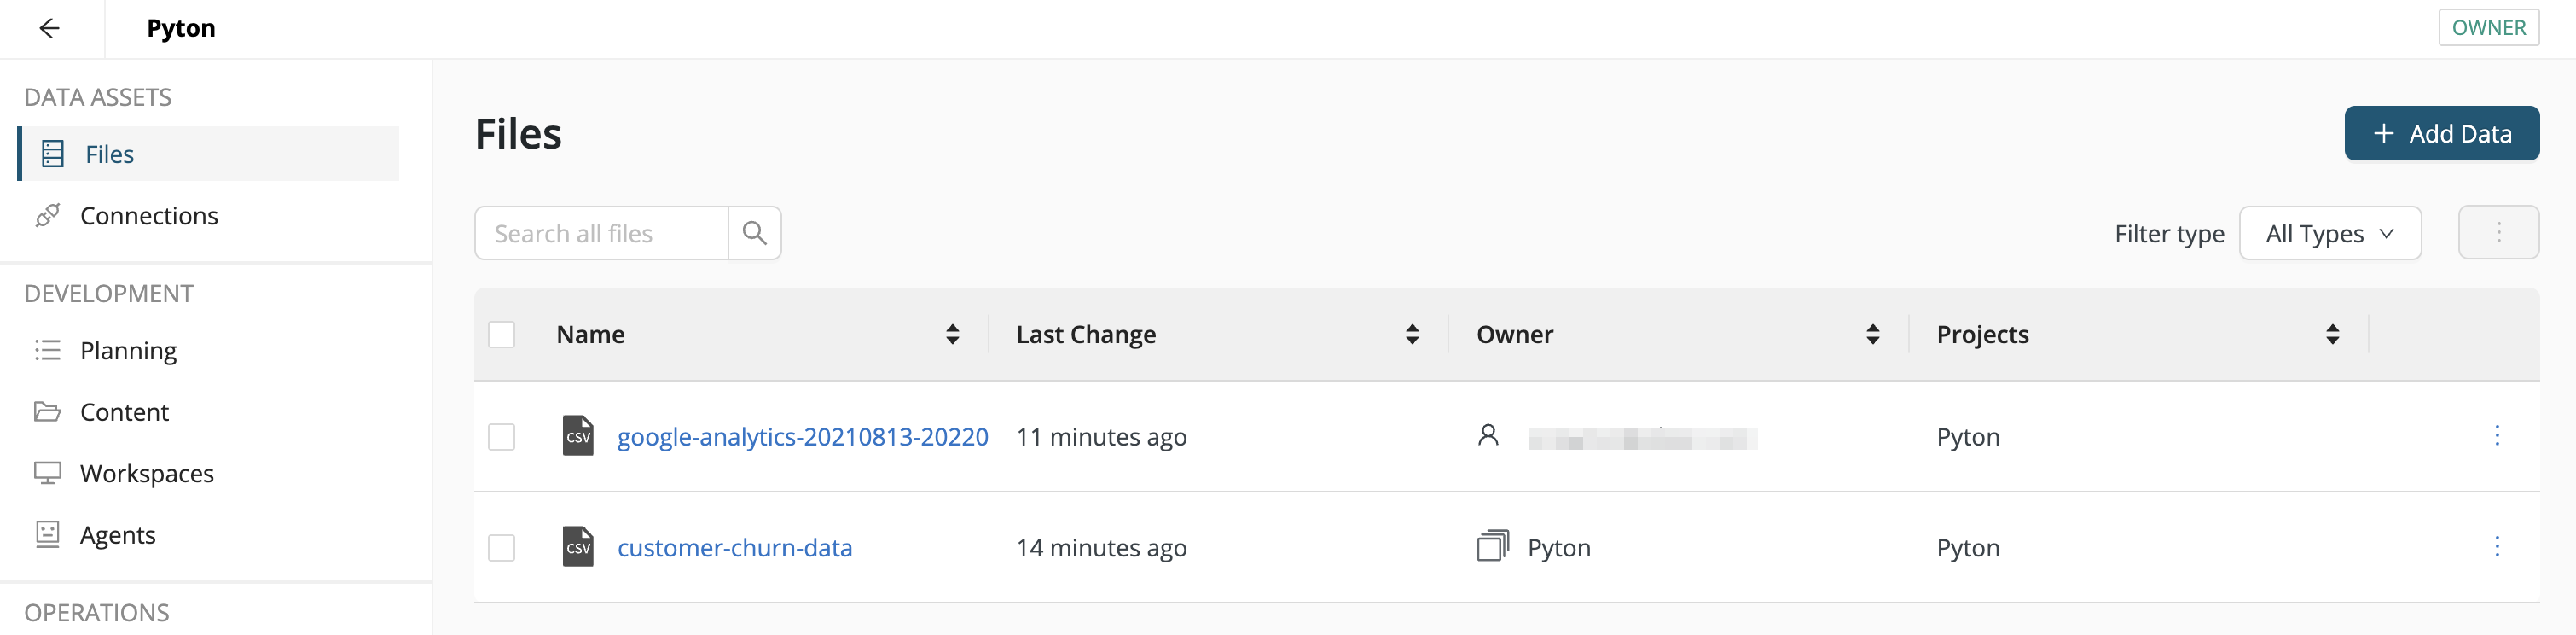
If you have not already done so, Add Data to the Data Assets.
- If you Add Data from within the project, the data is owned by the project and no further action is necessary.
- Otherwise, once your data is available in the Data Assets, Link to Project.
In the example displayed in the screenshot, the customer-churn-data has been added from within the Pyton project, and the project is the owner of the data, whereas the google-analytics data was added from within the global view and then linked to the Pyton project.
Read more: Files
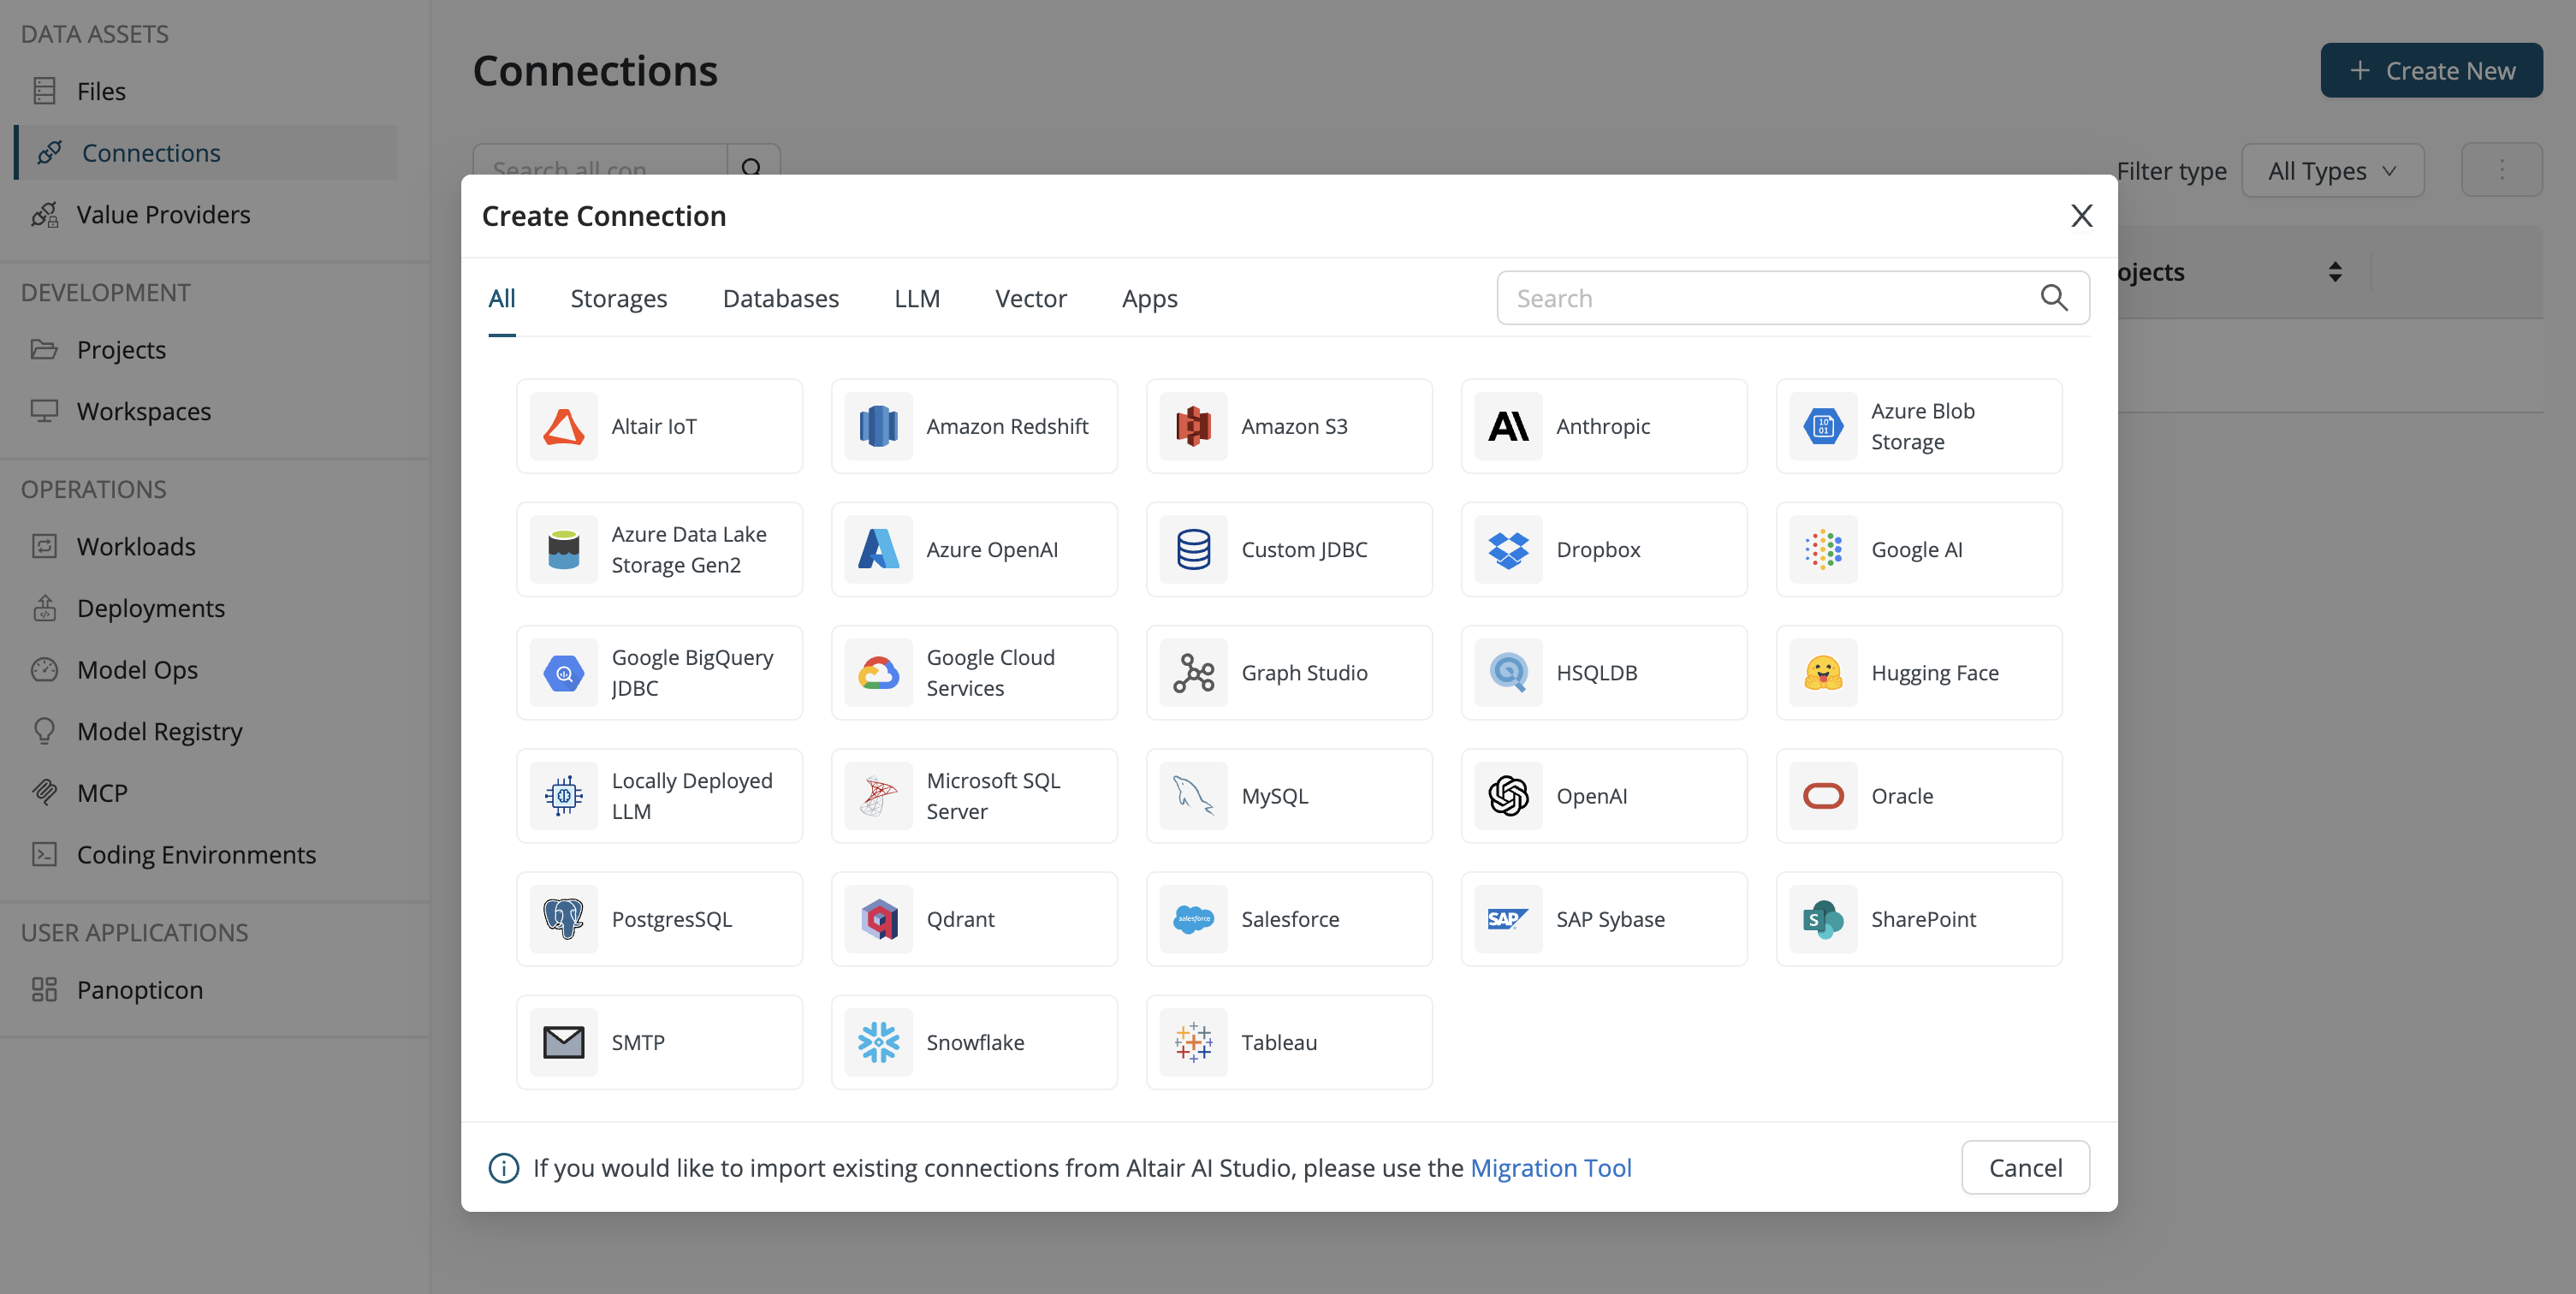
Connections
Alternatively, your data source may be external, in a database or other cloud storage. The Connections menu item shows all the data connections available to the project. Click Create New to add a new one.
Read more: Connect to your data
Planning
The Planning menu item implements an integration with Atlassian Jira and Confluence, de facto standards in project management.
Read more: Atlassian integration
Content
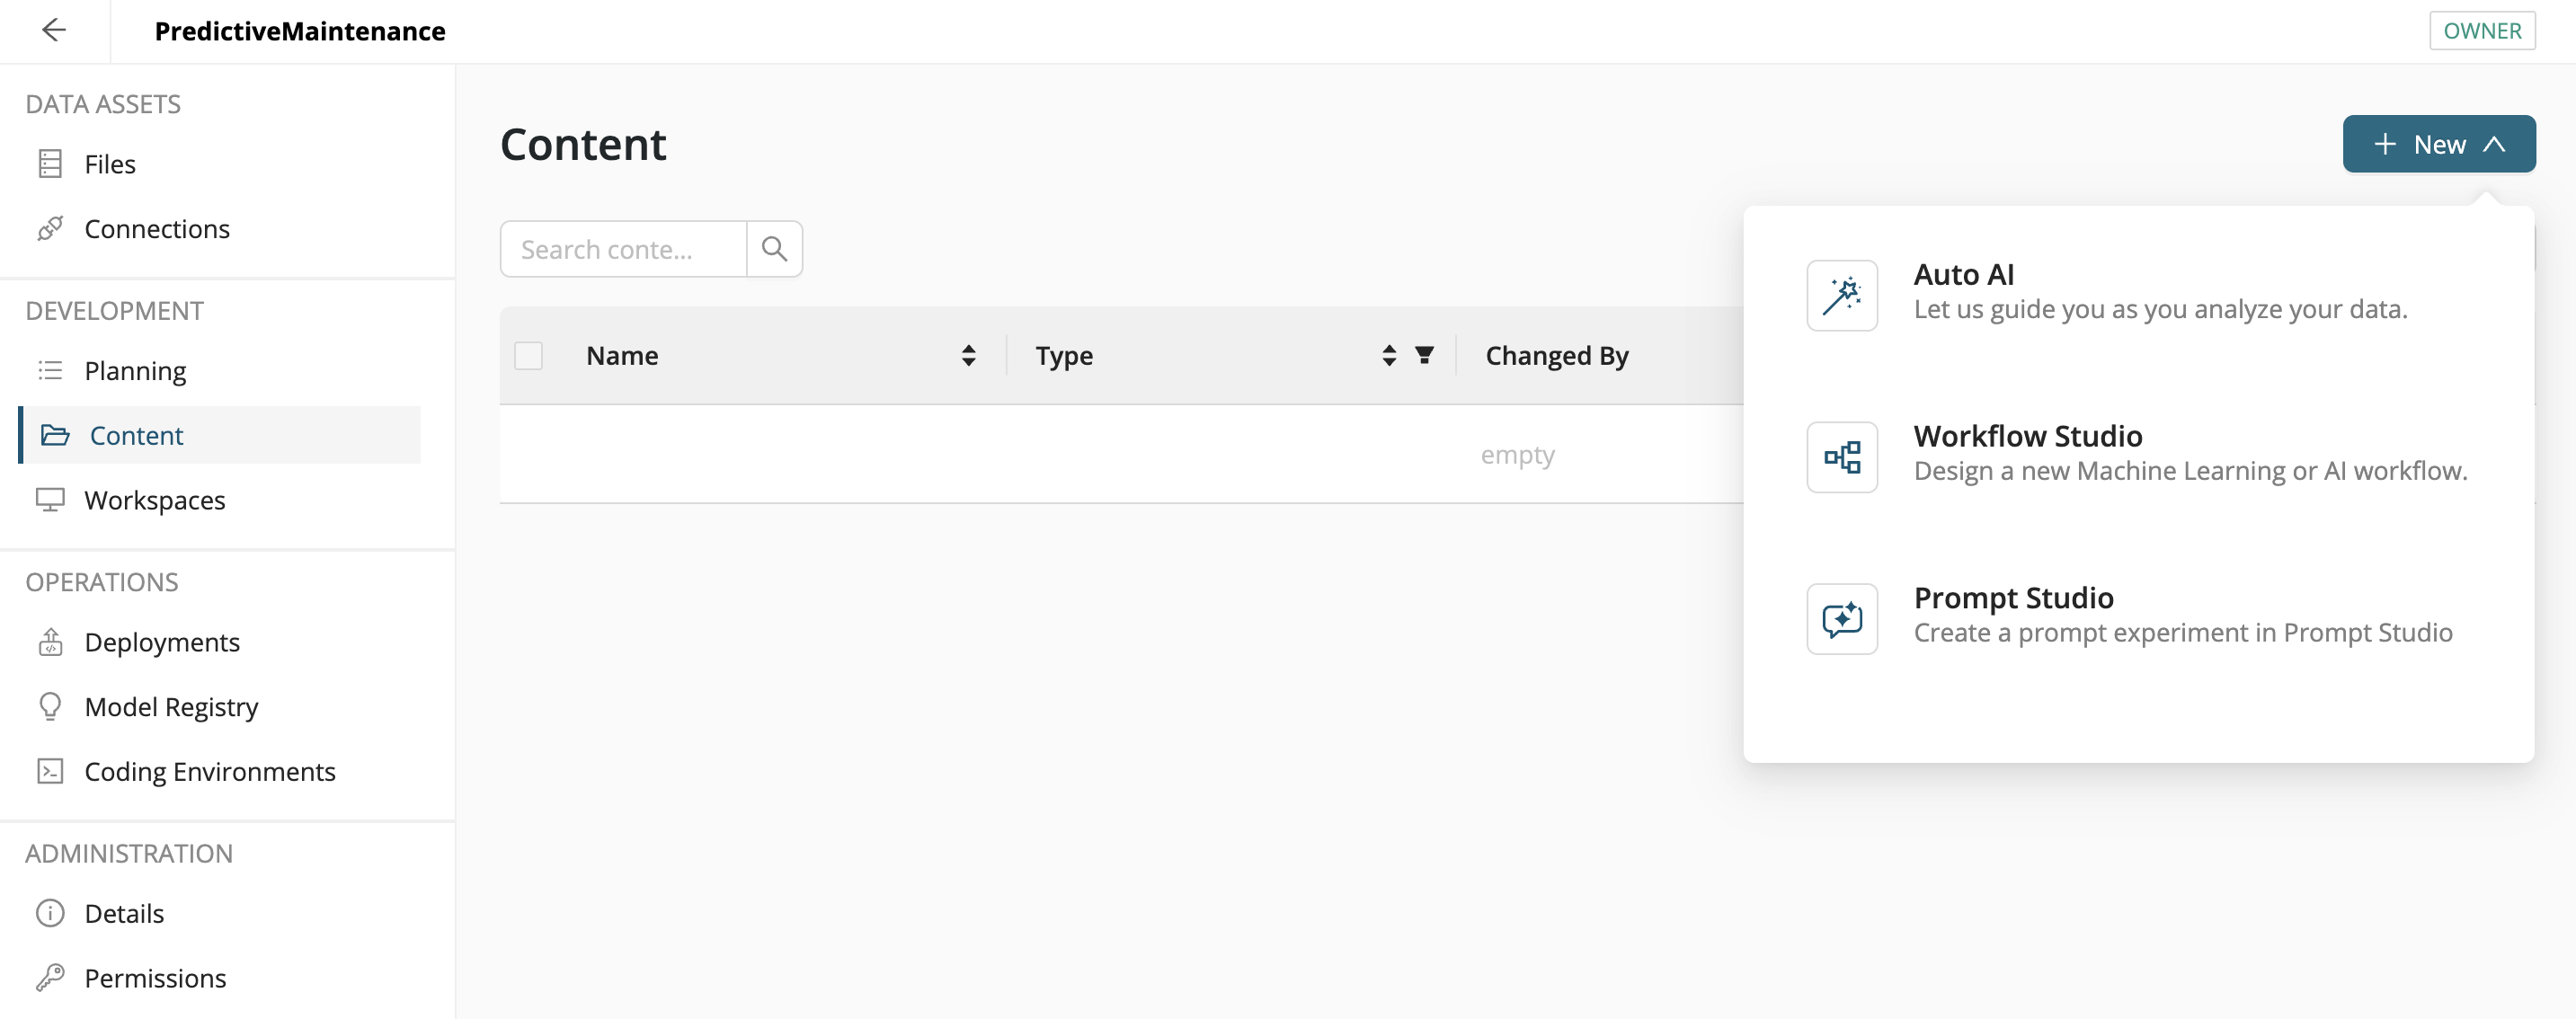
Once your data is ready, you can take action within the Content menu item by clicking New:
- Auto AI: Start Auto AI based on the data set.
- Workflow Studio: Develop a workflow to visually transform, model, or score your data in a completely custom way.
- Prompt Studio: Use Prompt Studio to create prompts and generate LLM-based responses.
Workspaces
Agent Studio
Altair AI Cloud provides a user-friendly, visual, no-code tool for building agents designed to interact seamlessly with Large Language Models (LLMs). These agents can communicate with users through a chat interface or be activated by external calls to perform specific tasks.
Unlike traditional workflows - even those incorporating LLM calls - agents stand out for their ability to independently handle complex tasks, make autonomous decisions based on user input, and operate without being constrained by a predefined execution order.
It is also easy to expand an agents capabilities by a large list of available tools or by creating new ones.
Read more: Agent Studio
Jupyter Notebook
A notebook is a shareable document that combines computer code, plain language descriptions, data, rich visualizations like 3D models, charts, graphs and figures, and interactive controls. Your Python workflow can be displayed in a notebook.
Read more: Notebooks
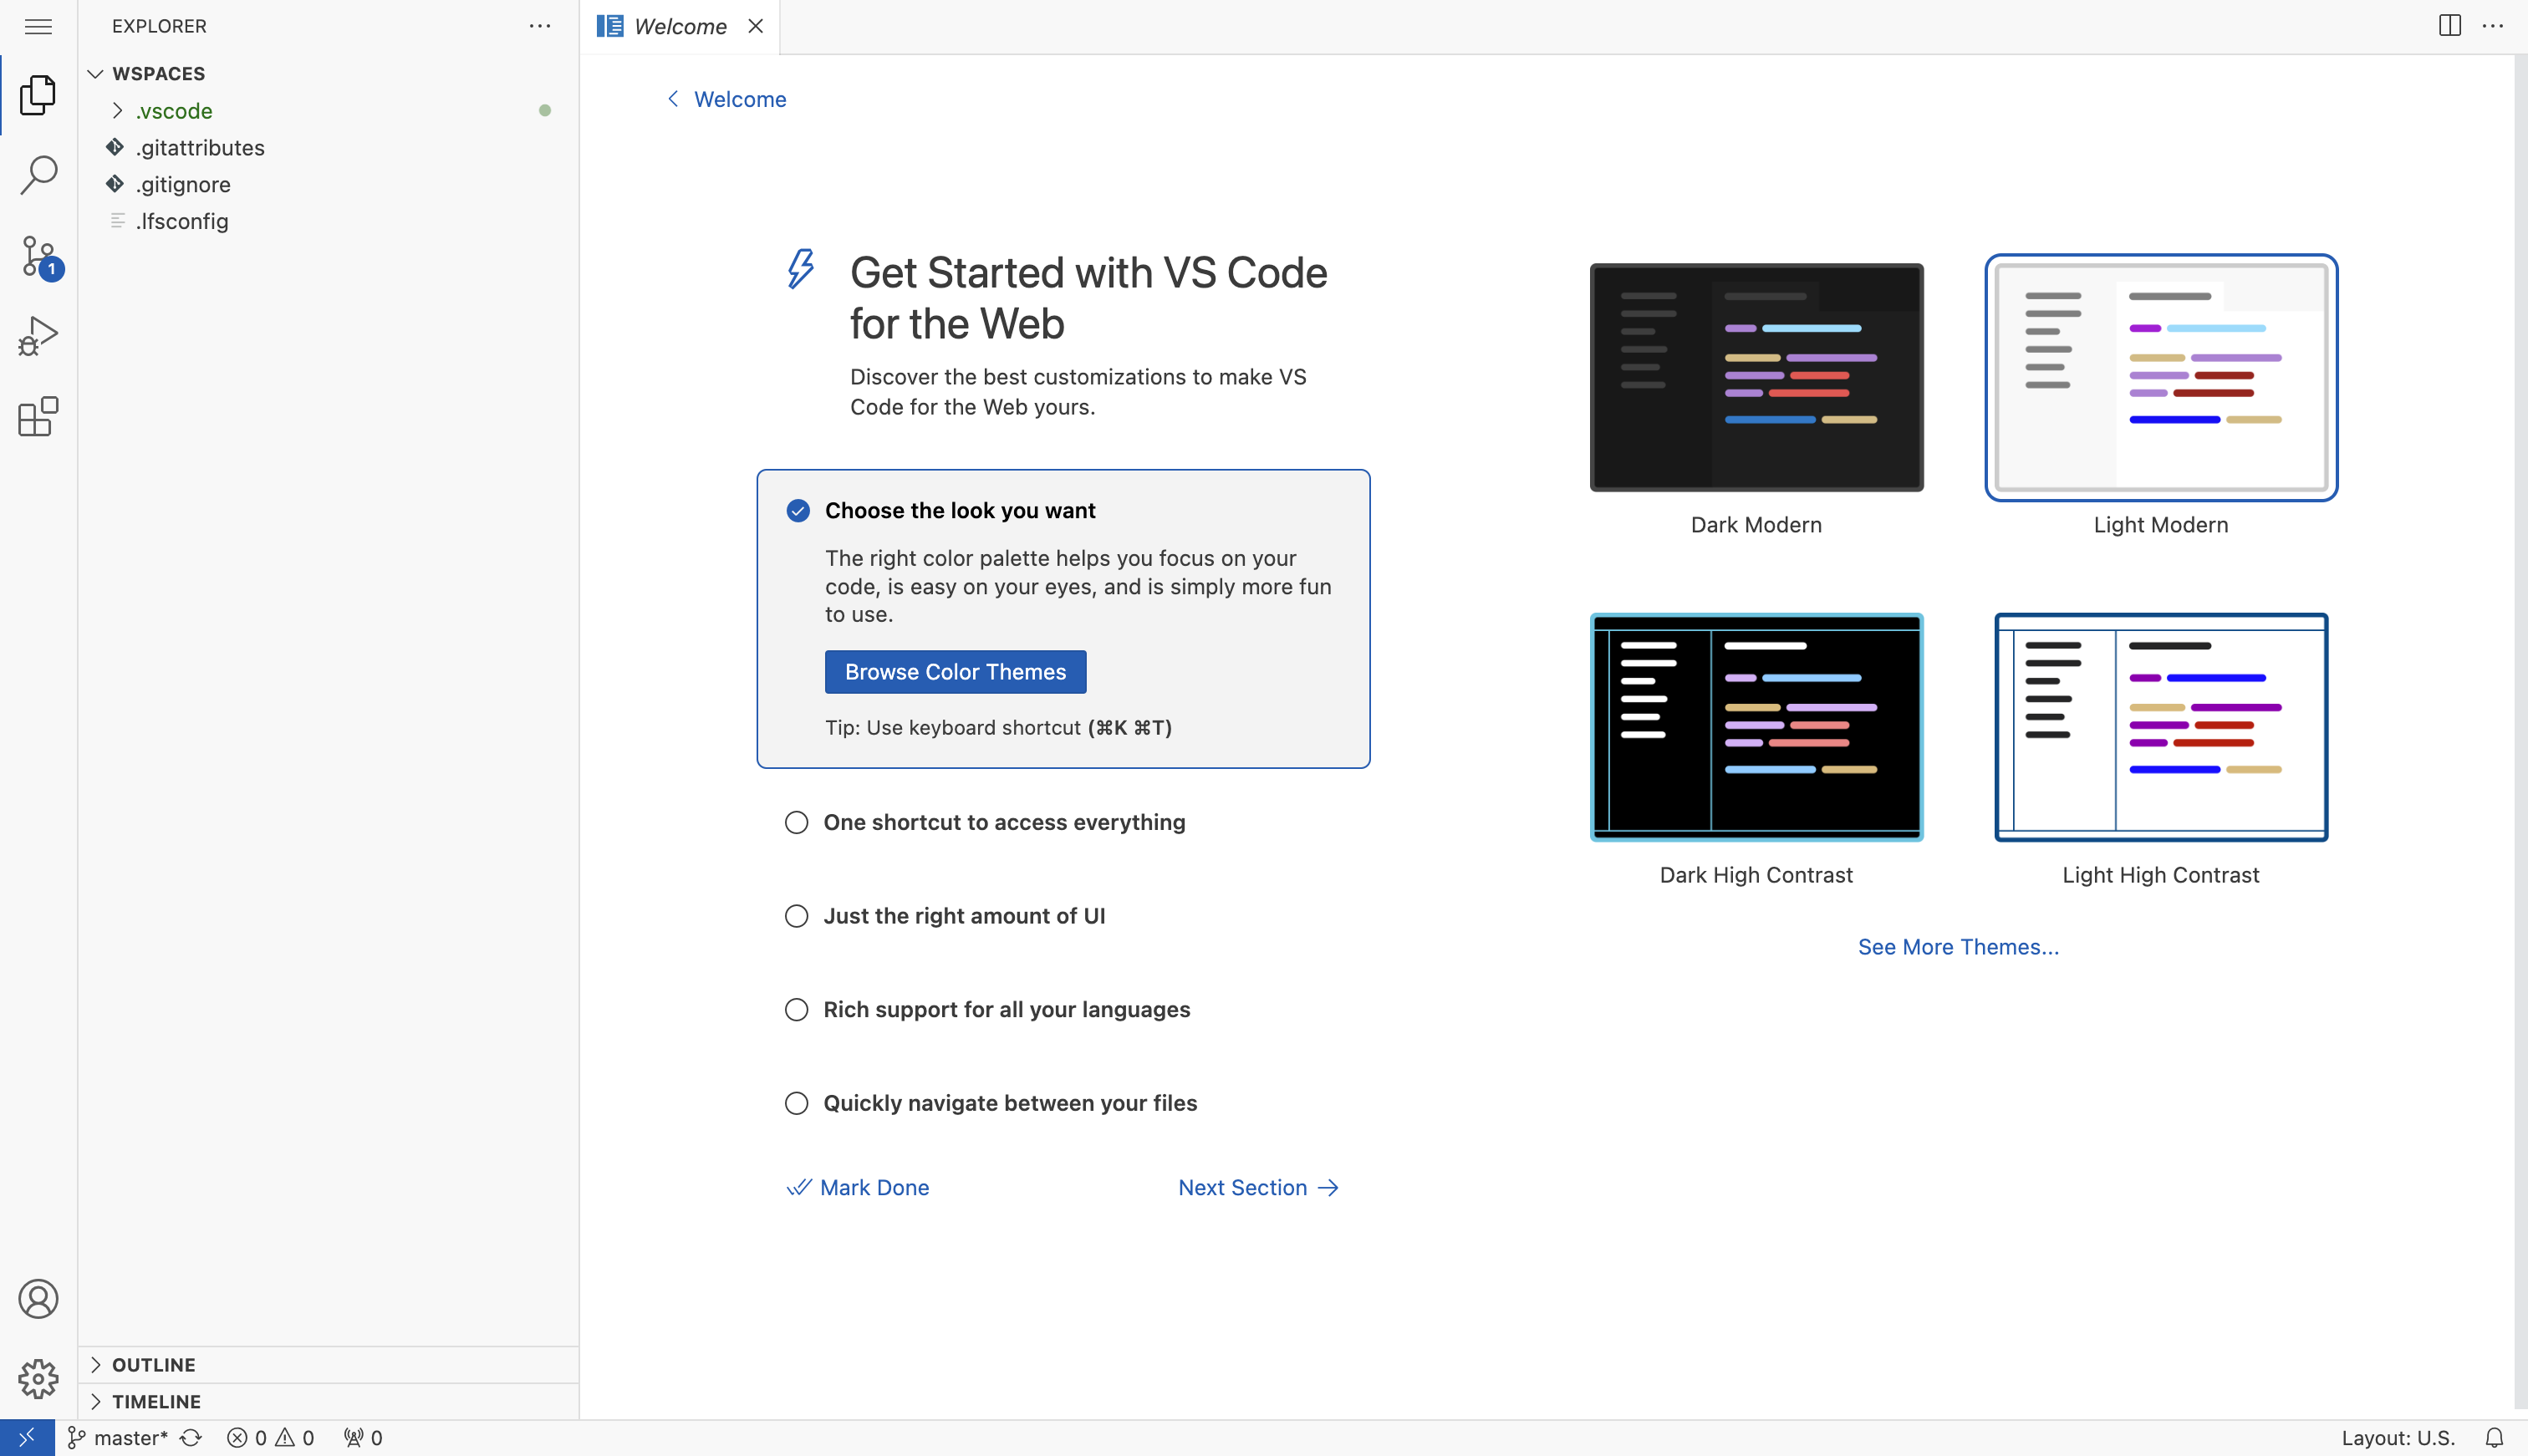
Web IDE
Looking for a lightweight, but powerful source code editor to help you contribute Python code to your project?
A workspace provides exactly that: a source code editor, connected to a specific project. It runs in your browser and it comes with all the features you expect:
- Code completion
- Debuggers
- Version control with Git
- A large set of available extensions
Read more: Web IDE
Deployments
With deployments, one can enable content created within the project to be integrated into existing business processes. This can happen in multiple ways, such as creating an automated schedule when a workflow should be executed, or exposing a workflow as a REST endpoint so that other applications can leverage it.
Read more: Deploy a project
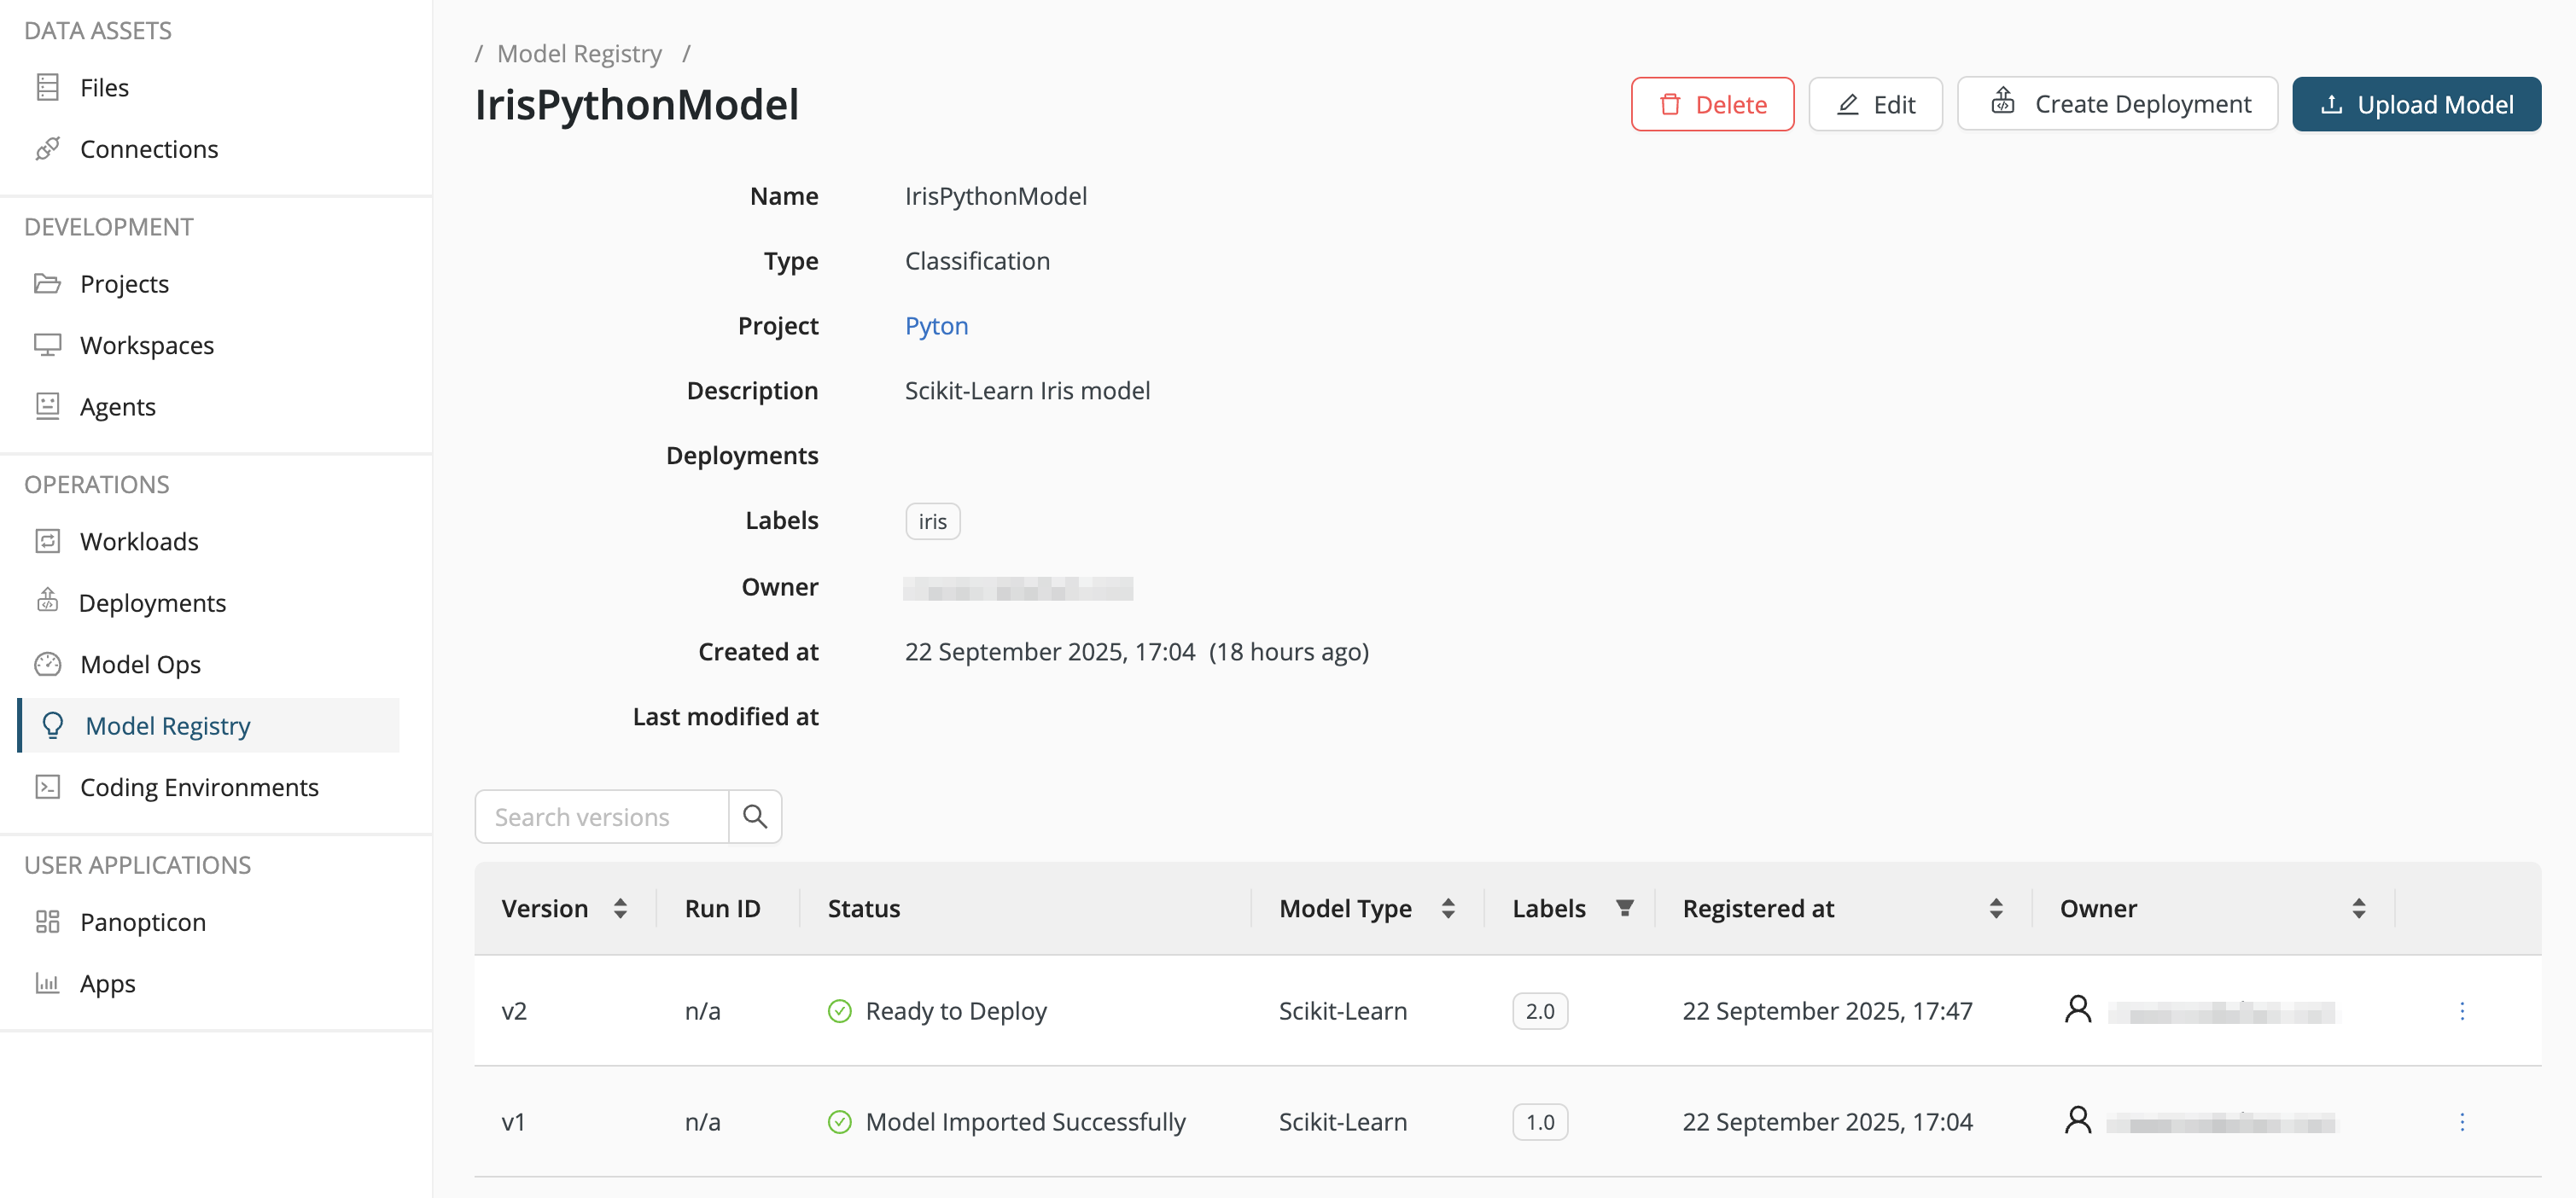
Model Registry
The Model Registry is the central place to store and manage machine learning models. It provides dedicated features for version tracking, labeling, and deployment management.
Read more: Model Registry
Coding environments
Coding environments are self-contained language environments with packages and versions. In Altair AI Cloud, you can create code environments for Python. You can use them in notebooks, Web IDEs, and Execute Python operators in Workflow Studio.
Read more: Coding environments
Details
The Details menu item gives information about the project resources and resource usage, including:
- which resource pool the project belongs to,
- what resource quotas it has, and
- if it is allowed to use GPU.
Read more: Resource management
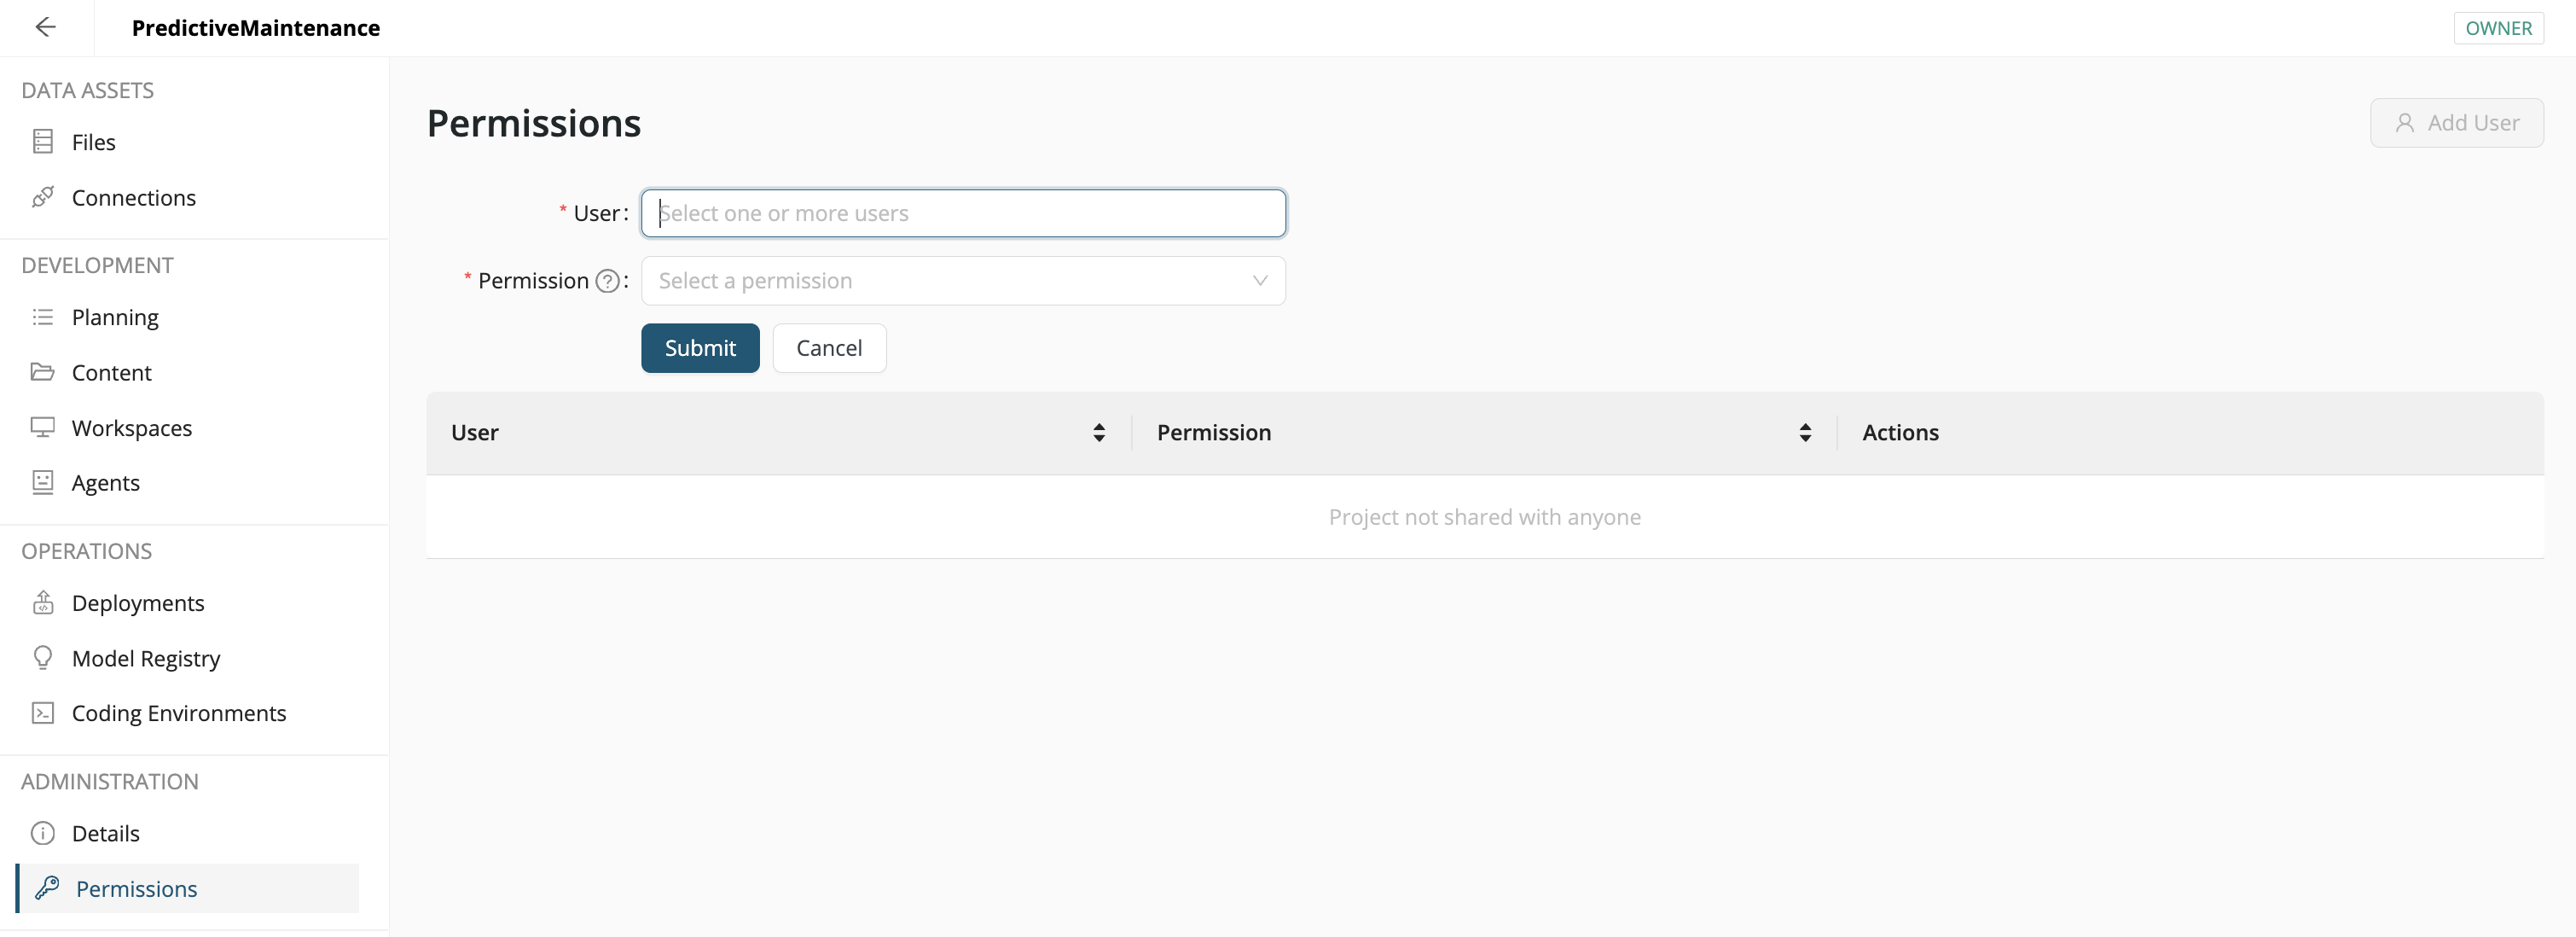
Permissions
The Permissions menu item makes it possible for you to invite other colleagues to work with you on the project. On the upper right, click Add User, select a User and Permission, and then click Submit.
- Viewer - can read the project files, but not change them in any way
- Contributor - can make changes, read and write to the project
- Owner - has the right to delete the project
Read more: Access to data files